Woodworking / Furniture Building

LOL too funny man! I do not ground the pipe to the machines. My last DC system had PVC and I did ground those. I have never had a static build-up, so I never ran grounds. Each drop has an electronic blast gate that turns the DC on when you open the gate. Those are metal and grounded, so they ground the line to the DC.

Yep. Some of the fights in the WWing forums over this subject would put the disappearing lofts debates to shame!
 
Yep. Some of the fights in the WWing forums over this subject would put the disappearing lofts debates to shame!

That is a great analogy! I have read them all too when I fist ran pipe and it seemed split 50-50. I thought why chance it. I wrapped the PVC with bare wire, ran a pigtail to each machine, slept well at night. I do think there is an advantage to using metal pipe and grounding, but not necessary IMO. There is a story behind this for me, but it is too long and probably not the best place to tell it. I will save it for when we meet.
 
That is a great analogy! I have read them all too when I fist ran pipe and it seemed split 50-50. I thought why chance it. I wrapped the PVC with bare wire, ran a pigtail to each machine, slept well at night. I do think there is an advantage to using metal pipe and grounding, but not necessary IMO. There is a story behind this for me, but it is too long and probably not the best place to tell it. I will save it for when we meet.

You got a deal!
 
This is quickly becoming one of my favorite threads! Nice work guys.

im kind of anal. last week i walked in to discover i left a window open a crack, 2 days after a heavy down pour. All of my tops were rusted!!!!!!. I spent several hours yesterday refinishing them. that sucked.

I had to deal with this same issue last weekend. My wife had put one of my kids snow covered sleds on top of my table saw, which of course proceeded to melt and I had a nice "patina" on the table top. I was a little cranky after that. It took a good amount of time to take care of it, but I think I'm back in business now. I see my bandsaw has some rust I need to deal with one of these days also...
 
This is quickly becoming one of my favorite threads! Nice work guys.


I had to deal with this same issue last weekend. My wife had put one of my kids snow covered sleds on top of my table saw, which of course proceeded to melt and I had a nice "patina" on the table top. I was a little cranky after that. It took a good amount of time to take care of it, but I think I'm back in business now. I see my bandsaw has some rust I need to deal with one of these days also...

If you're not a fan of patina, Boeshield is your friend.
 
I loved working in my grandpa's wood shop. Boy have they come a long way. Really enjoy following this thread and you guys do some outstanding work!

Looking at your shops is just as fun.
 
Thanks for the kind words. I have used and have boeshield too, but for the last few years i have been hitting my tops with pb blaster and scotch brite pads. i let the oil soak in, wipe the excess and cover that with car wax. I'll wax a few times a year. it helps with friction too. I guess the wax broke down this time, because this never happened before. live and learn.
 
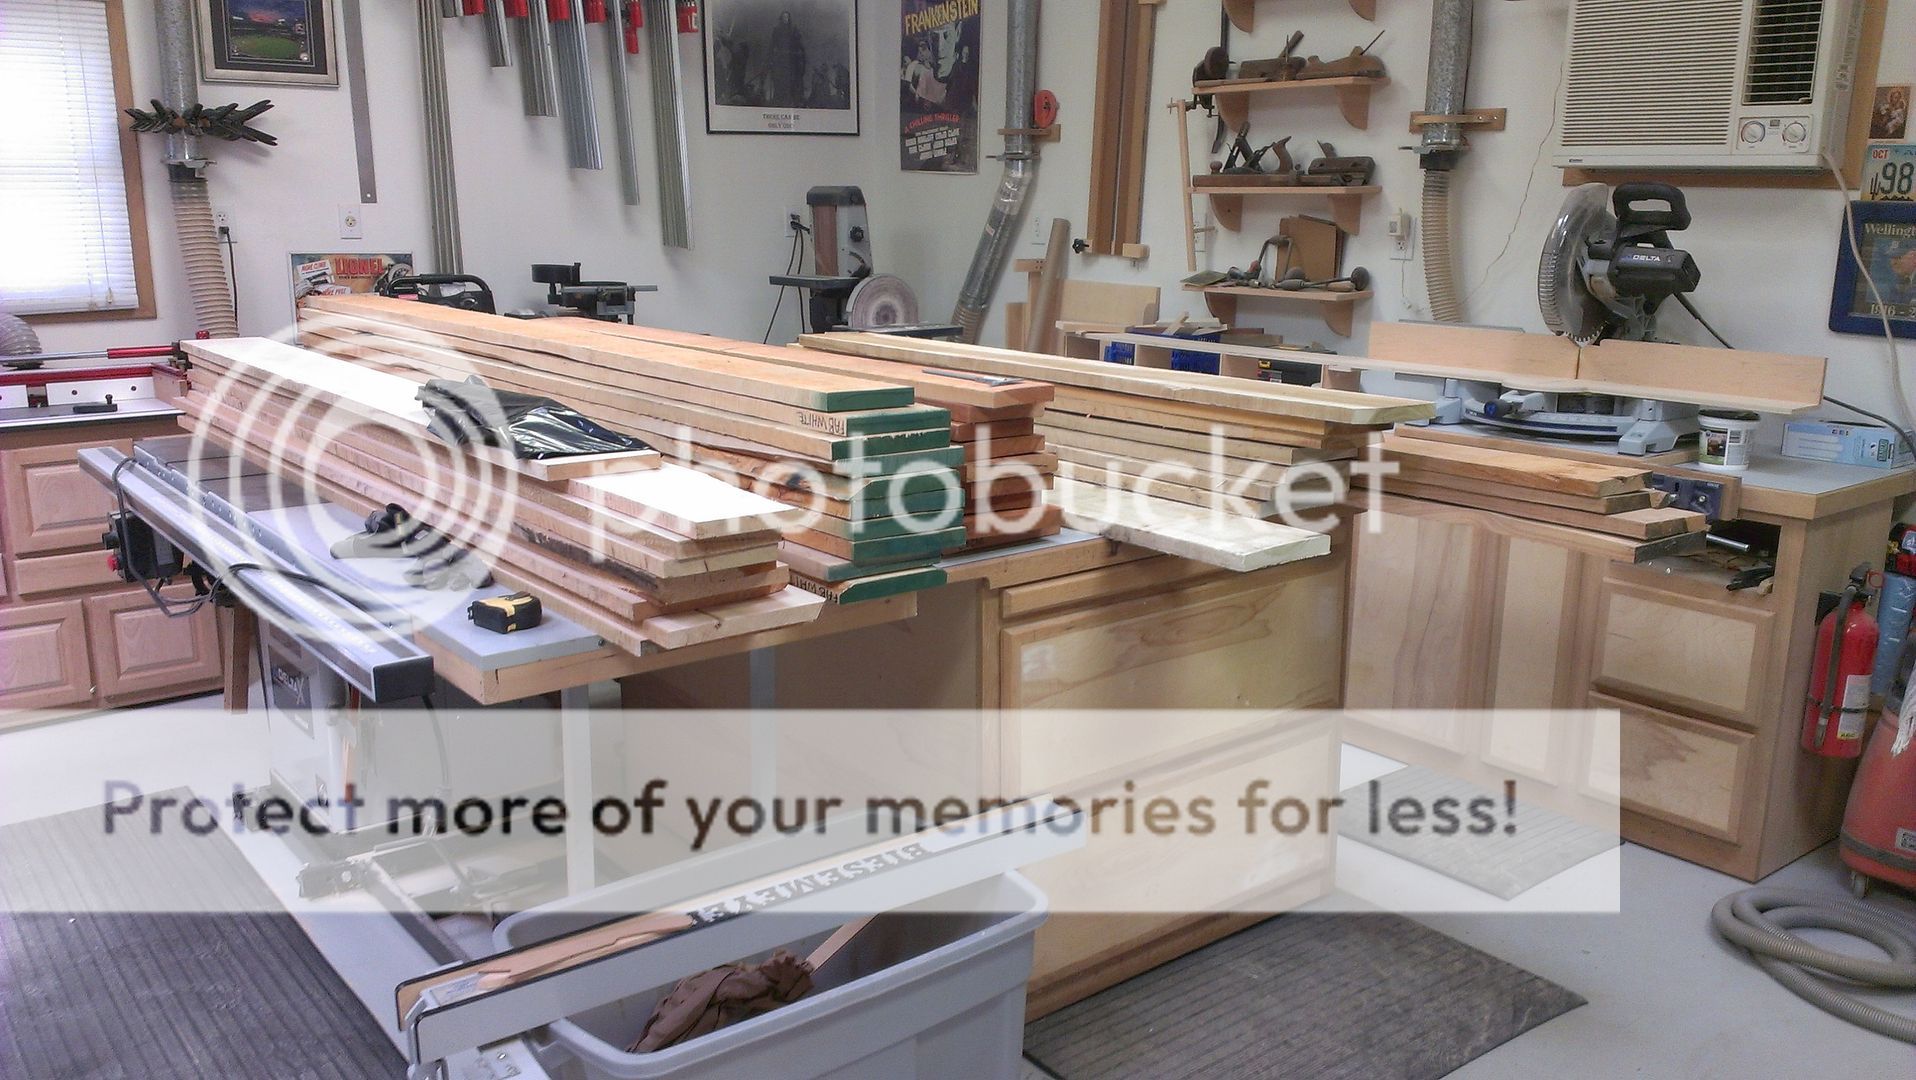
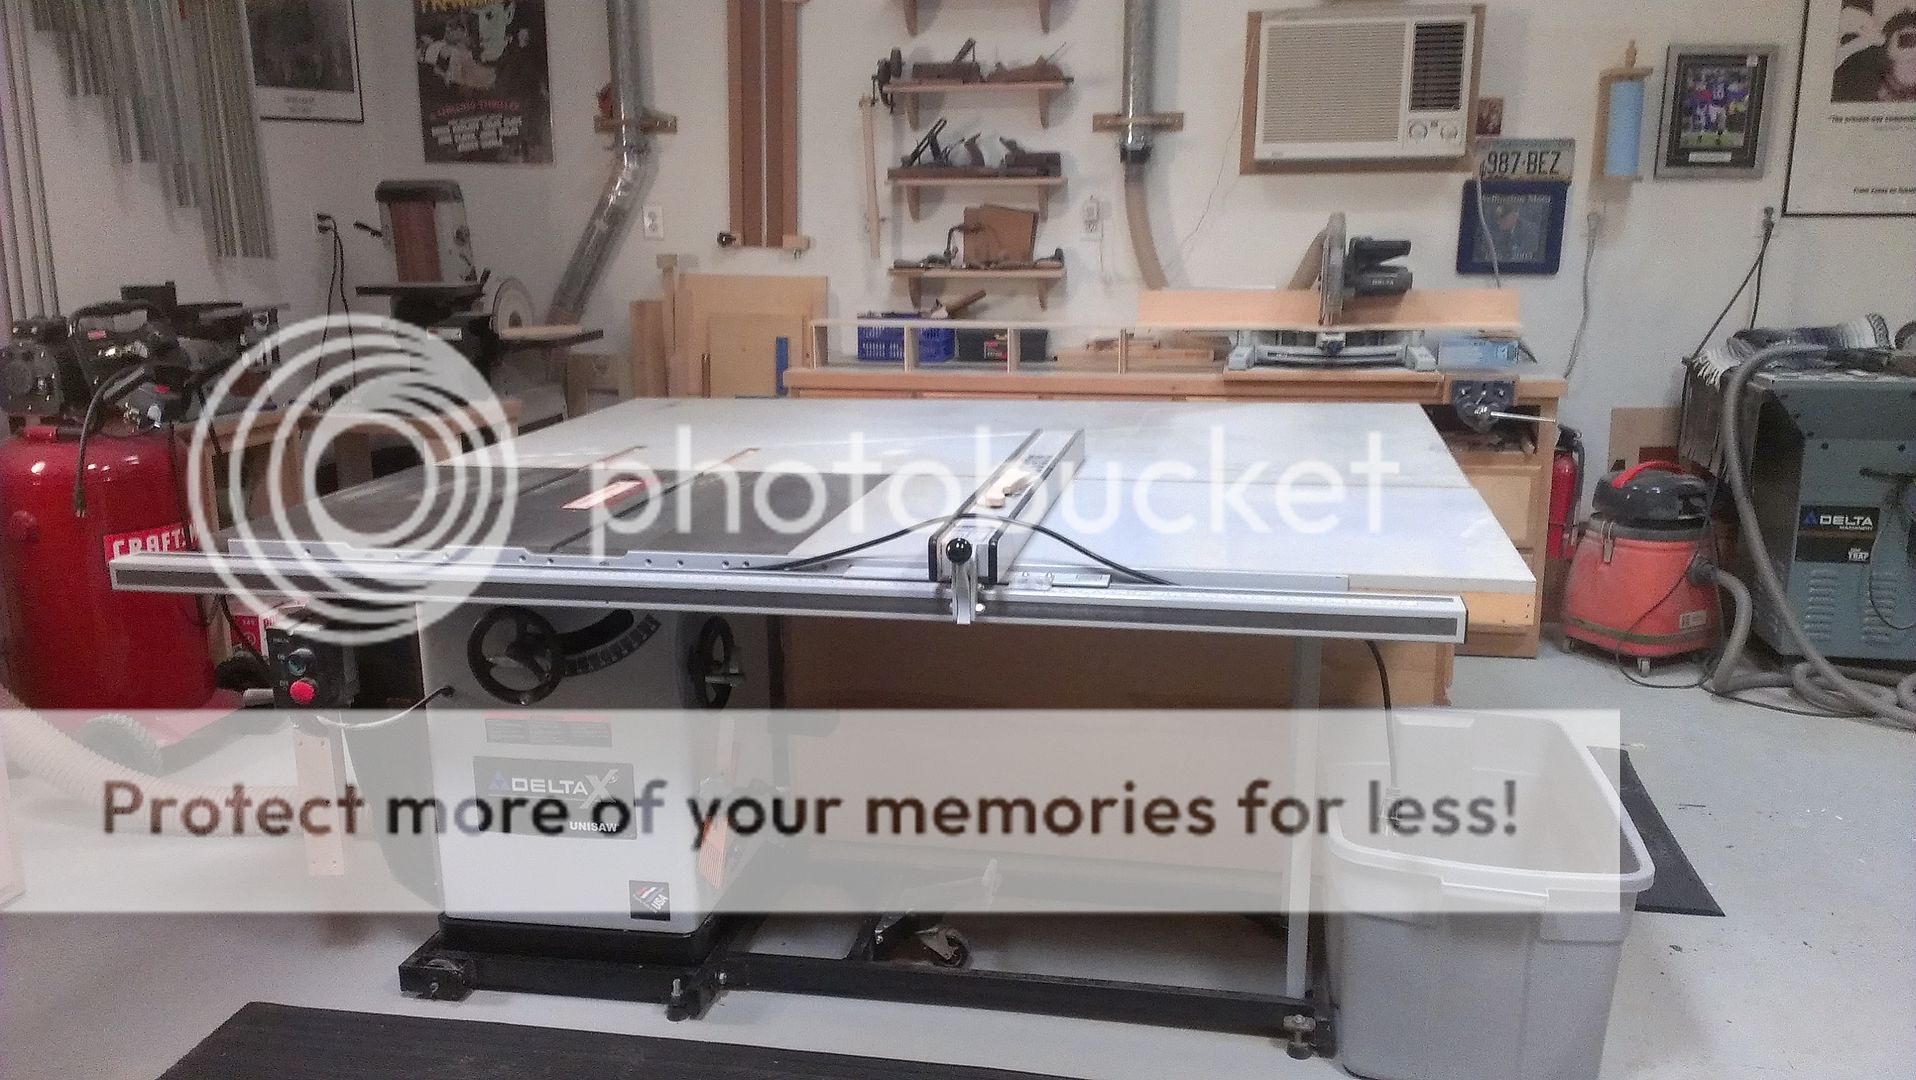
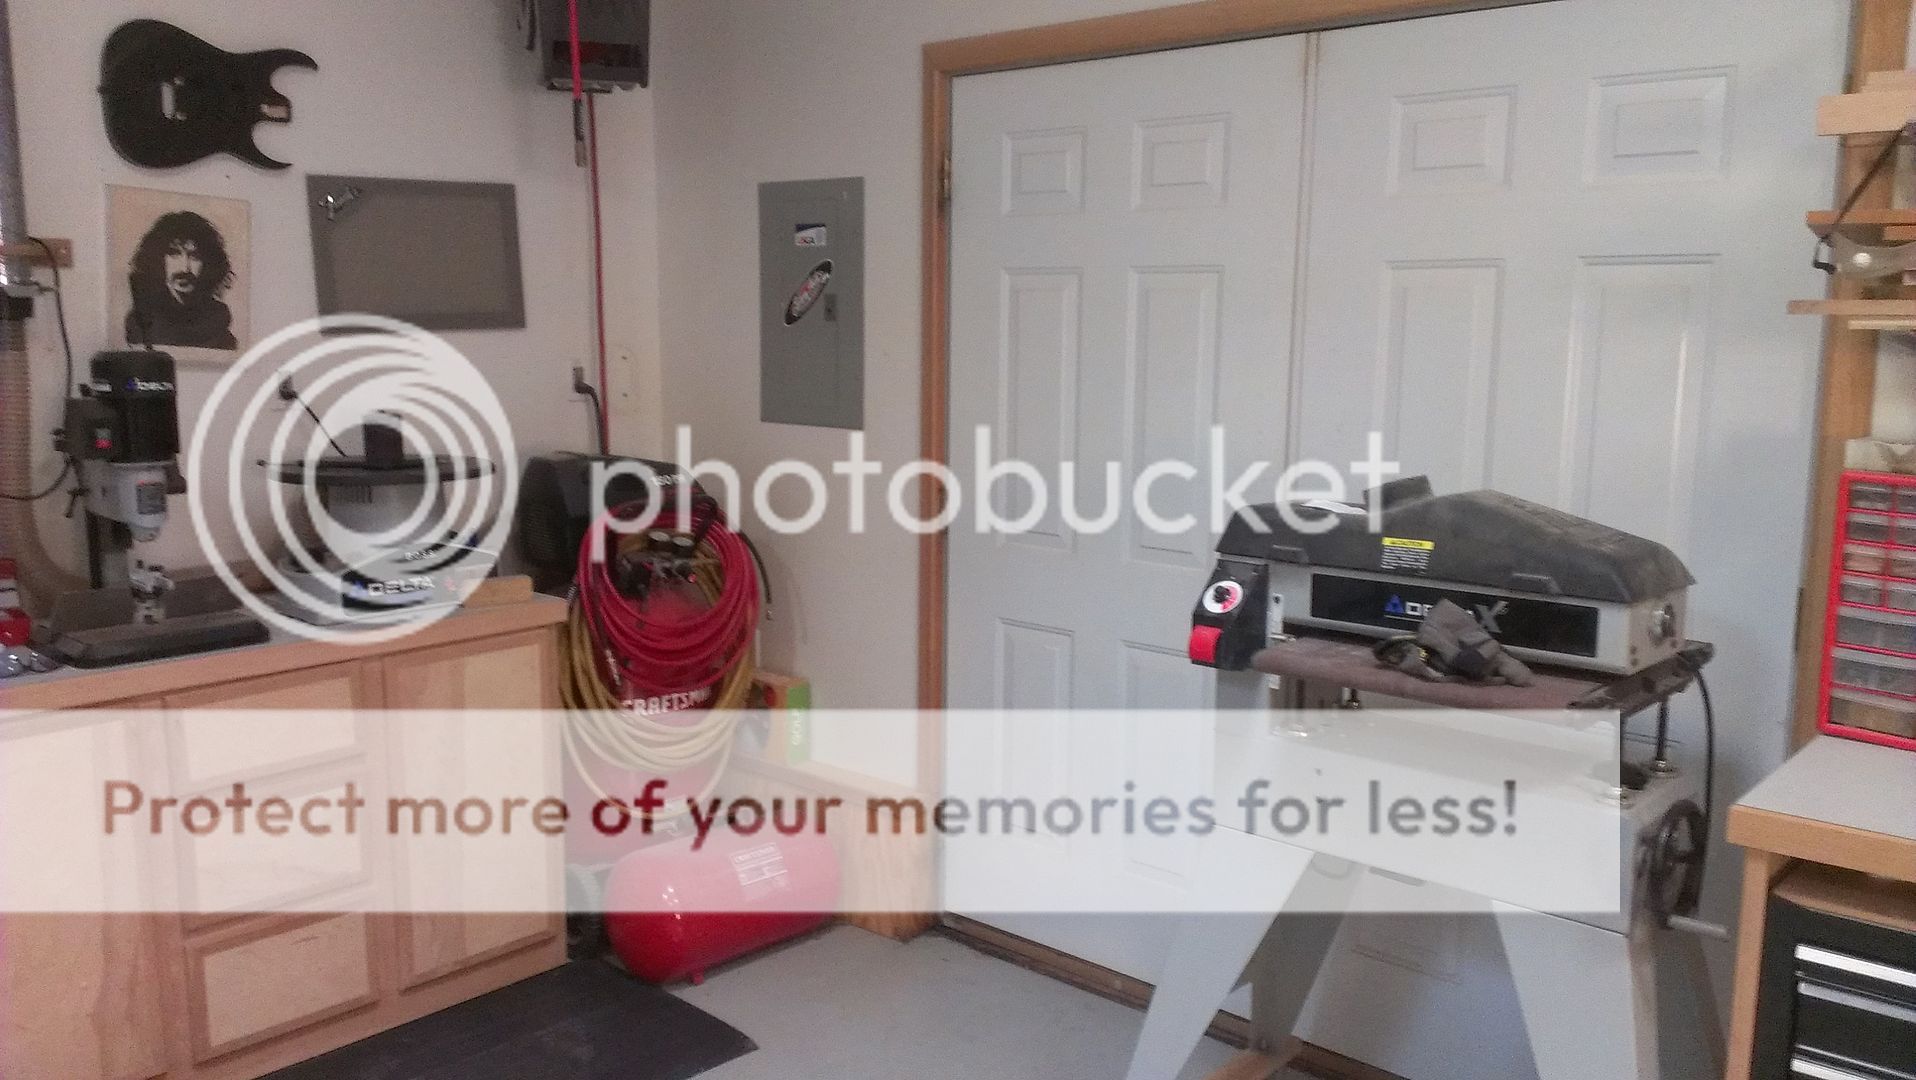
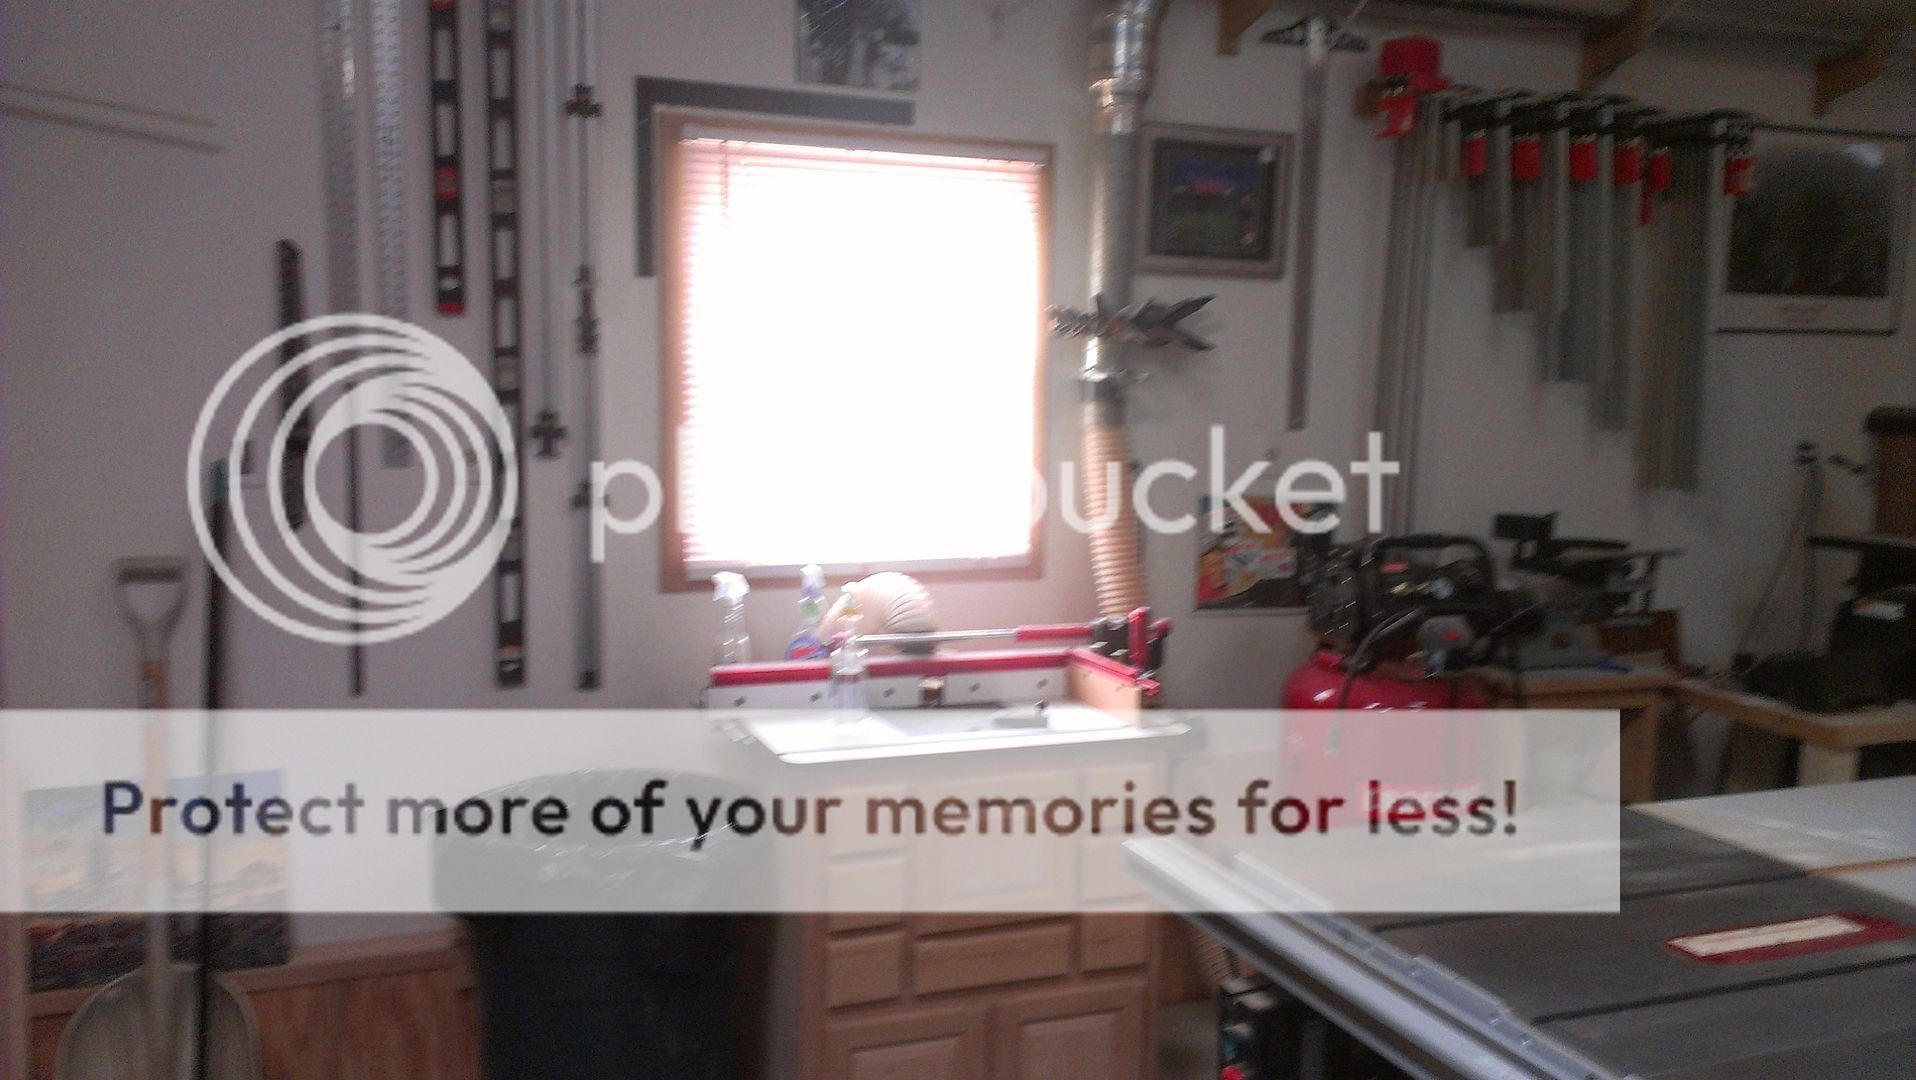
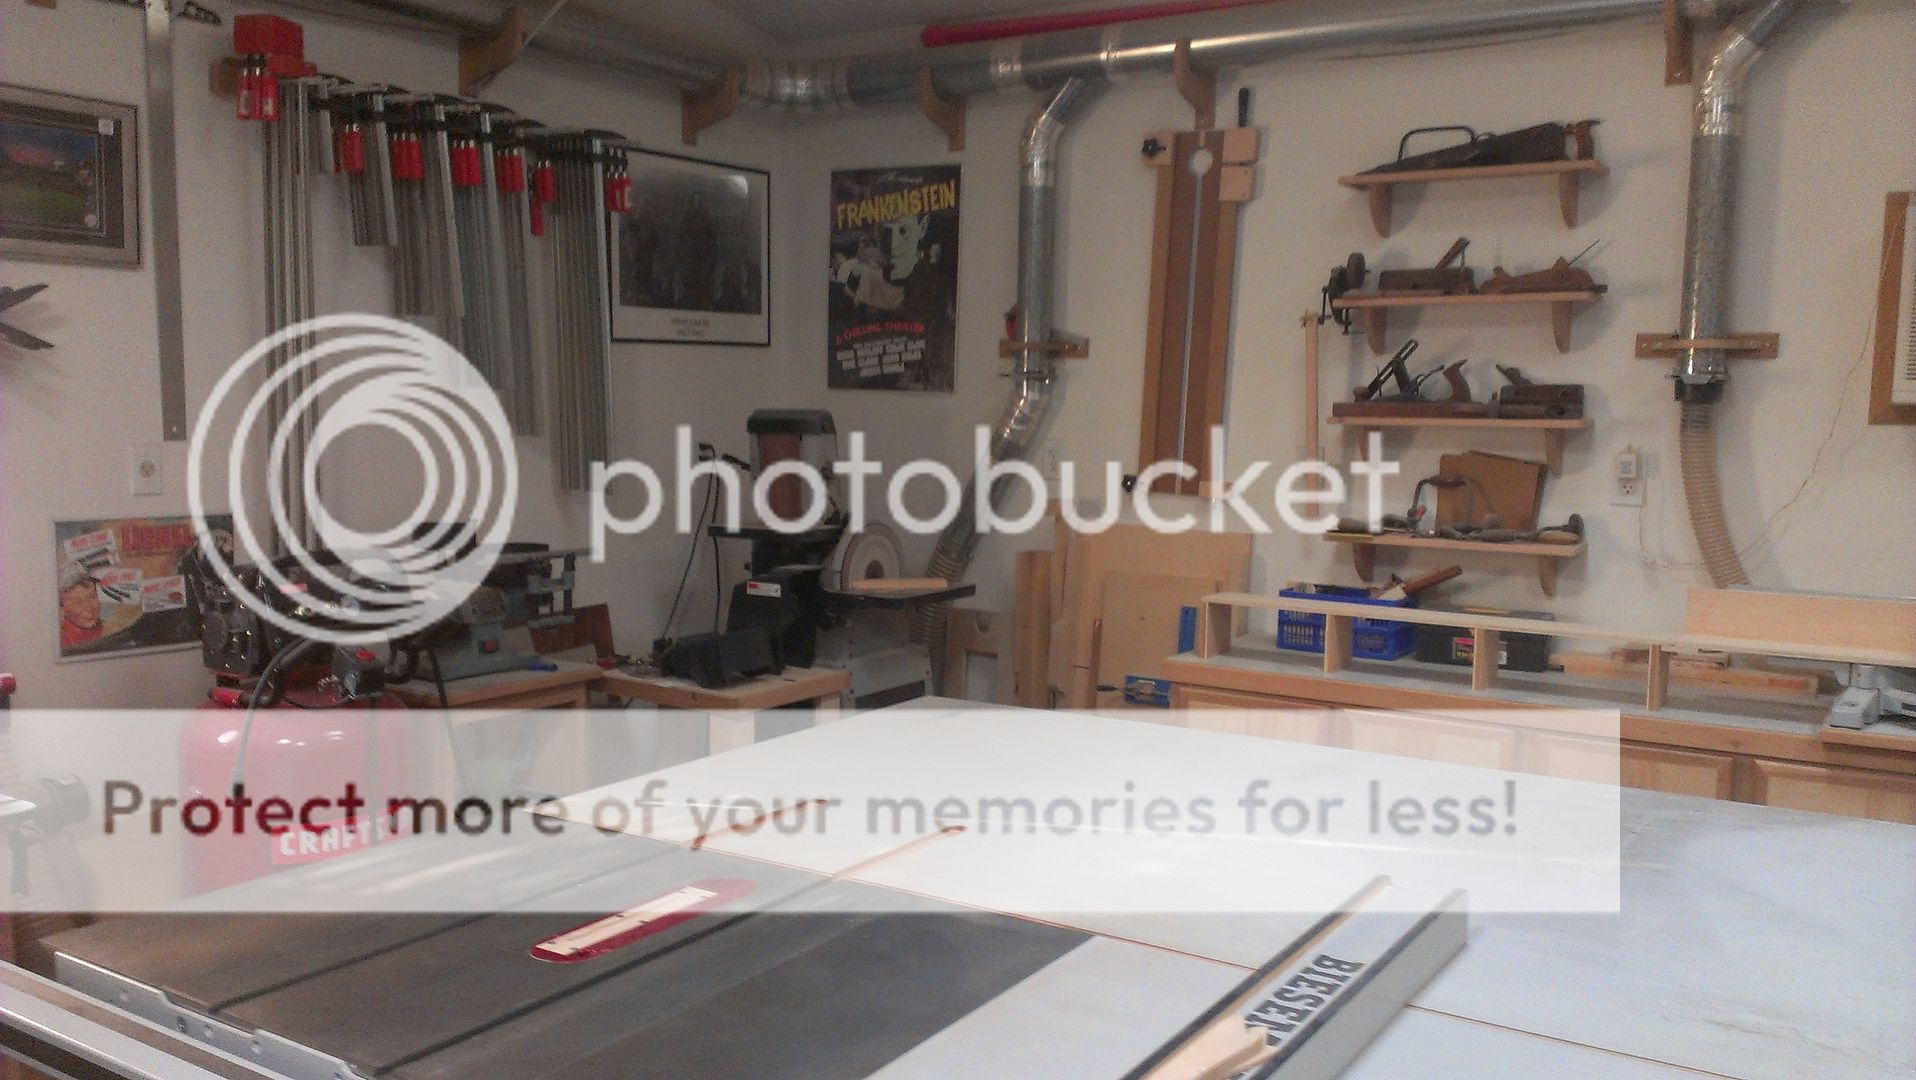
For those interested, a few more shop pics. It's a small space, but I'm proud of it.


I see you're a Delta man. Little bit of Nahm influence?
 
You have no idea how jealous I am of you! I'm confined to our two stall garage for now. We are on the search for an acreage with either a shop already built, or room to build one. And I agree with an earlier statement, that's way too clean to be used as a shop!
 
I see you're a Delta man. Little bit of Nahm influence?

I do dig Norm, but that's not the sole reason.

I had a very eclectic shop. Lots of different OEM's. I had a fire and lost EVERYTHING! Just finished a 4 poster bed for my Daughter too, was bringing it into the house the next day. Worst feeling of my life. Horrible, I wouldn't wish a fire on my worst enemy. I have before and after photos within a 24 hour time period. Devastating.

Anyway, Insurance came through. I was able to rebuild the building, saved 3 walls but everything else got replaced. In a way it helped me lay out things better the second time. Then came tool shopping time, I was going to go with Powermatic, some Delta, some Grizzley, Laguna, etc. It just so happened that Delta was running a promotion. Buy this machine and get a 18v Porta Cable cordless kit worth $600 for free, that sort of thing. So by buying the Delta equipment, I got all this PC stuff for free, Routers, saws, etc. So I guess I am similar to Norm that way.

The most fun was going to Sears to buy my mechanics tools. I filled up 2 carts worth of stuff. The salesman followed me around with a big smile on his face the whole time. I guess it was a nice commission for him.


I cannot stress enough the importance of fire safety. Lay out rags to dry after finishing a project. Make sure space heaters are off and unplugged when you are done. Keep chemicals in proper storage. For me, I had a blast heater going while I was applying the last coat to the bed. I shut it down and made sure it was unplugged. Apparently ( Confirmed by 3 inspectors ) an ember from the heater lit on a piece of wood and smoldered for a few hours. It eventually caught and started the blaze. Right after I called the FD, the propane tank that was fueling the heater blew. The blast took out the windows. Once the O2 got in it was all over. FD showed up minutes after the blast and they put it out quick. The damage was already done. Please, Please be safe in your shops.

Sorry for the longish post.
 
Did your standard homeowners cover the loss or did you have a rider specific for your shop?
 
Did your standard homeowners cover the loss or did you have a rider specific for your shop?

Home owners covered it, but they covered it as such that a contractor would come in and rebuild. Since I did the work myself, I was able to save a bunch of $ and put it towards equipment. My home owners went up when I completed the shop the first time because it's an out building on my property. Oddly enough, it didn't go up much after I filed the claim. State Farm came through big time.

Now I have extra coverage. Photos of everything, Receipts, lists. I'm not taking a chance again.
 
You have no idea how jealous I am of you! I'm confined to our two stall garage for now. We are on the search for an acreage with either a shop already built, or room to build one. And I agree with an earlier statement, that's way too clean to be used as a shop!

I started the same way man. Everything on wheels so it could be moved from against the wall to the middle. My wife got fed up with me so often for saw dust in the house. So when we moved to VA, we chose a place that had enough room for an out building. We actually budgeted for the out building when we purchased. I got a modified garage kit and went to town. Took me 6 months to build it by myself. I just needed help with the trusses. I would never do it again, too old. But it was a great 6 months. Very therapeutic.
 
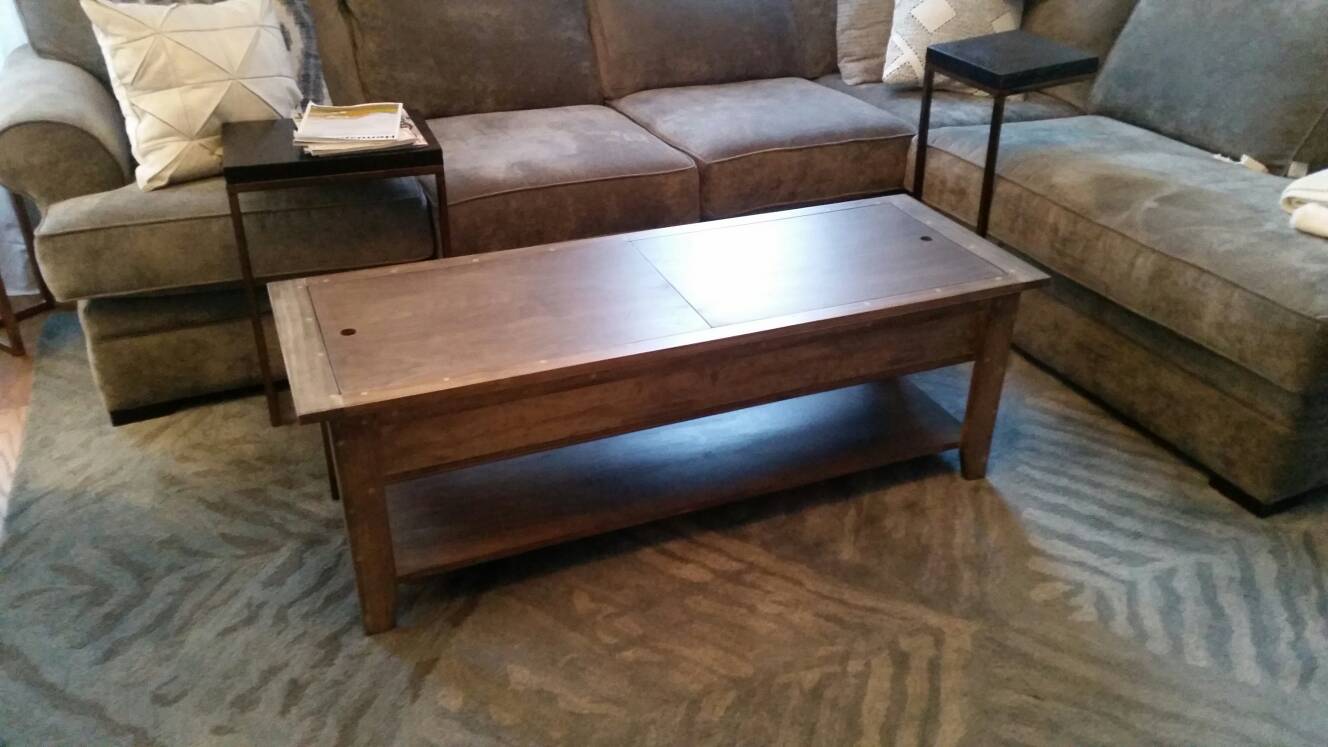
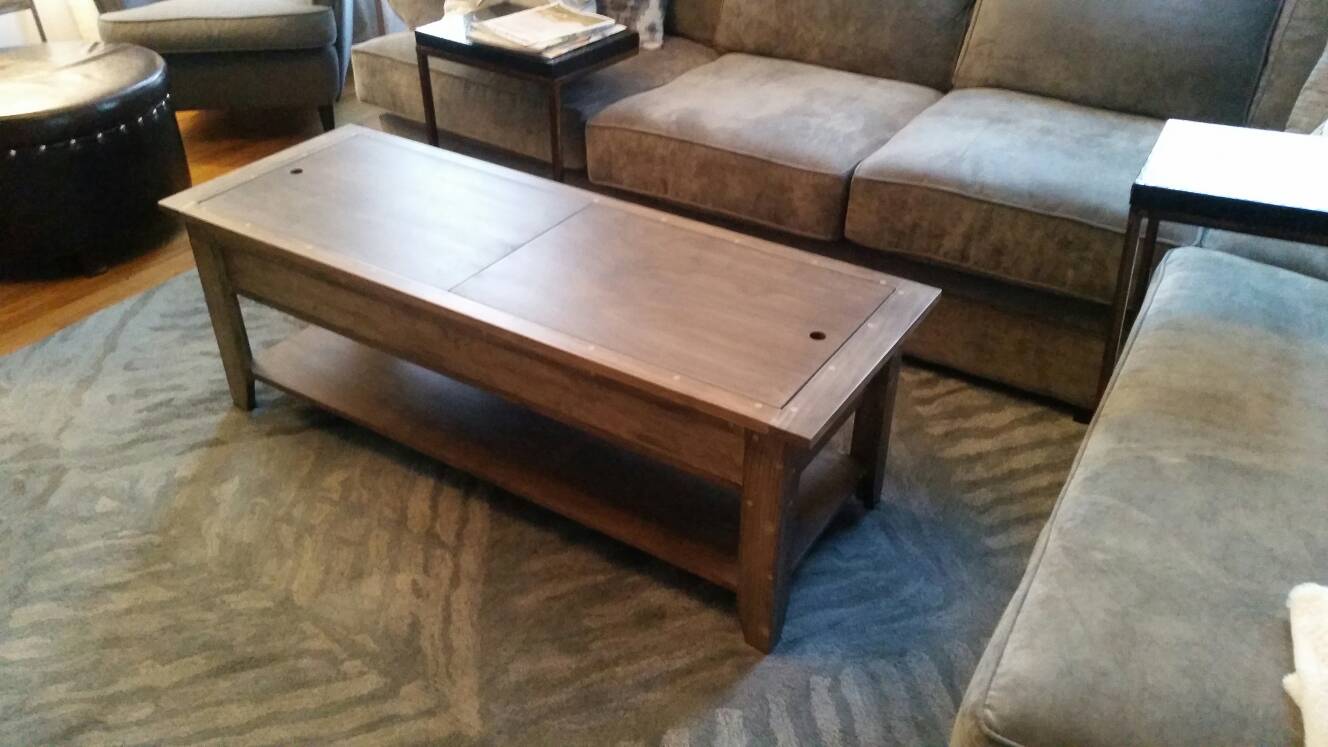
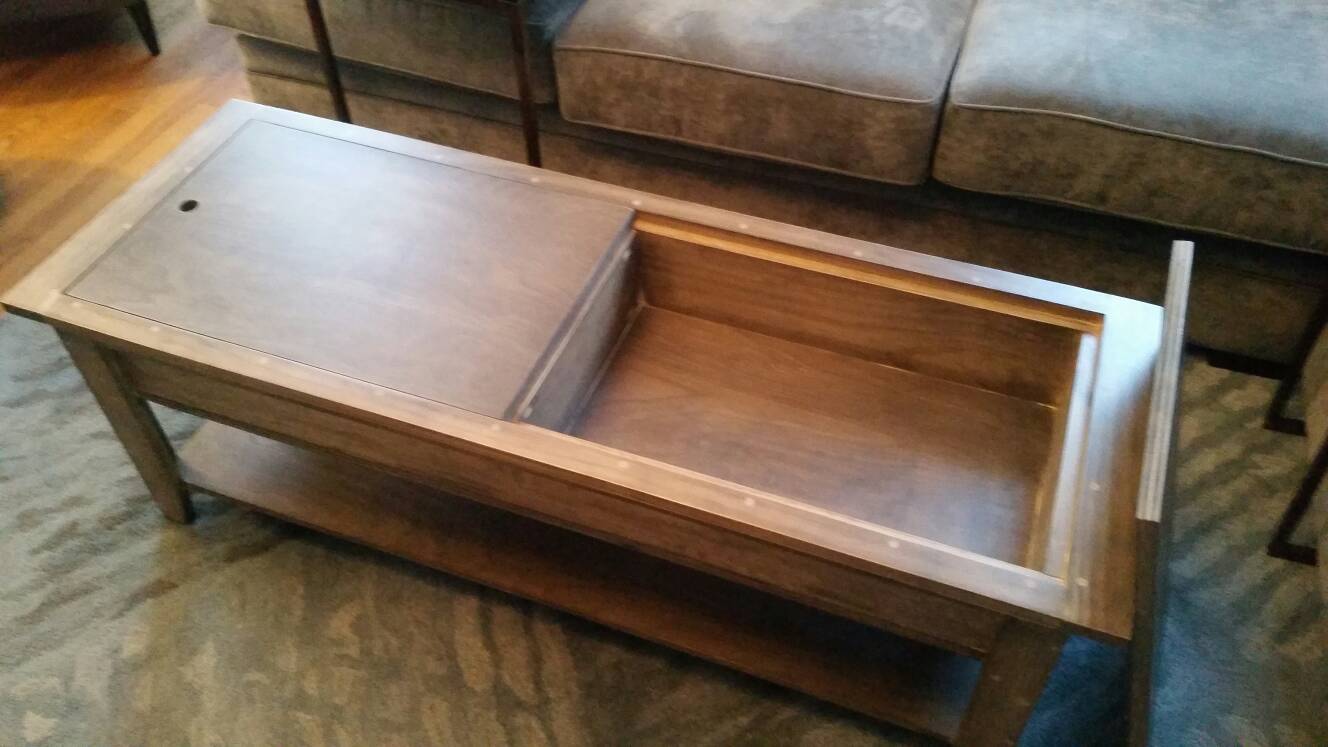
First foray into furniture building. Learned some things I would do differently, but I think it turned out ok! Wife wanted a coffee table. She gets a coffee table!

111cf663379e6265cfc65efb384a3518.jpg


07bd92d39bb7260fe93e9fb1f383cef2.jpg


720a46eccd85e97fc00d8b009633a71b.jpg
 
First foray into furniture building. Learned some things I would do differently, but I think it turned out ok! Wife wanted a coffee table. She gets a coffee table!

That's a much better first effort than I can claim credit for! Every project has something we would do differently. All part of the journey.
 
That's a much better first effort than I can claim credit for! Every project has something we would do differently. All part of the journey.
Thanks! I had a pretty good set of directions to follow. My wife found an awesome all natural stain on pintrest, which I was sceptical of, but turned out great.
 
First foray into furniture building. Learned some things I would do differently, but I think it turned out ok! Wife wanted a coffee table. She gets a coffee table!

111cf663379e6265cfc65efb384a3518.jpg


07bd92d39bb7260fe93e9fb1f383cef2.jpg


720a46eccd85e97fc00d8b009633a71b.jpg
Don't sell yourself short dude, I think that looks awesome. Tried and true joinery, contrasting colors, functionality. All good.
 
Rich. I showed my Fiance your pictures from the other day. She was quite impressed. Of all the things, she loved the tray the best.

Sent from my LG-D850 using Tapatalk
 
Furniture making us one thing I'd love to get into. That and one day I will build a cedar strip Kayak.great work gentleman.
 
Rich. I showed my Fiance your pictures from the other day. She was quite impressed. Of all the things, she loved the tray the best.

Sent from my LG-D850 using Tapatalk
Thanks Rob. My wife kind of got into a tray collecting phase. I had a nice piece of cherry laying around and i made that and a napkin holder for an anniversary gift. First time i tried that carving too. Fun project.
 
First foray into furniture building. Learned some things I would do differently, but I think it turned out ok! Wife wanted a coffee table. She gets a coffee table!

111cf663379e6265cfc65efb384a3518.jpg


07bd92d39bb7260fe93e9fb1f383cef2.jpg


720a46eccd85e97fc00d8b009633a71b.jpg

That turned out really good, especially for a first time project. Learning from each project is one of my favorite parts of woodworking. Nice work man!
 
Woodworking / Furniture Building

Well it turns out my hinge placements did not allow the leaves to hang freely at the sides of the table, so I spent an hour or so fiddle fooling with moving the hinges until the leaves were able to fully drop to the table sides.

Once that was done I could begin laying out the cuts for the top. I set the base onto the top to get center lines on each axis, and to transfer the leg positions onto the leaves:

7fda27205ae44b57c8907eac580e5ea6.jpg


With that done I could begin laying out the curves. A set of trammel points comes in handy:

b3ec60cf2def0f08be41e85d33669e9f.jpg


The ends get a large radius, while the leaves get a smaller radius that ends in the spurs that mirror the table legs. A tight curve transitions the spur to the large radius curve on the end:

94b52fe0d70a9ac3d65293a2d11e2474.jpg


Popping the leaves lets me take each section to the band saw for milling. I debated whether to take this approach or leave the top assembled and make the cuts with a hand held jig saw. I had no blades for the jig saw, so it went to the bandsaw in pieces. After the band saw the top is taking final shape:

344989d74afb7904f9ea46b6c4f195e6.jpg


Some sanding work is necessary to get smooth transitions from top to leaf, as well as removing saw marks, but this wraps up the major machining of the table.
 
Looking good dude, nice design.
 
Back
Top