99srxman
@srxman STAY LEFT!!!!
- Joined
- Jul 22, 2011
- Messages
- 2,335
- Reaction score
- 8
- Location
- Sheboygan Wi. PACKERVILLE
- Handicap
- 24ish
Follow along with the video below to see how to install our site as a web app on your home screen.

Note: This feature currently requires accessing the site using the built-in Safari browser.


Depends on what your looking to do with it. My dad had an older Radial and he could do all kinds of things with it. It was like a miter/table saw combo kind of thingThe good woodworkers on here, radial saw better than a miter? Not super happy with my miter and there's an older decent looking Craftsman radial for sale locally.
I wanna build sh!t haha. I'd call myself mediocre at this stuff. I built my bar and my daughter's bed, and some other smaller stuff. Have to build my son's bed this year; might do bunk beds. Have done everything so far with my miter box, circular saw, jig saw, and my kreg jig.Depends on what your looking to do with it. My dad had an older Radial and he could do all kinds of things with it. It was like a miter/table saw combo kind of thing
Just doesn't cut great. Have a Craftsman 10" compound sliding. Put a better blade on it and it got a little better, but a square edge is still dang near impossible. Seems to cut with a little bit of a wave from top to bottom. Squaring the angle is also a tad tricky because it twists a little when locking it in place. Cumbersome when I have to go from a mitered cut back to square.Agreed they both have there benefits and drawbacks I prefer a good miter box what seems to be the problem ??
Sounds like you would benefit from a sliding compound saw. Depending on how much you're wanting to spend there are some solid offerings out there. I have a couple that do the trick for different tasks at hand. Then I use a straight miter saw for ease of transporting and small jobs like shoe molding a running casing and stuff.Just doesn't cut great. Have a Craftsman 10" compound sliding. Put a better blade on it and it got a little better, but a square edge is still dang near impossible. Seems to cut with a little bit of a wave from top to bottom. Squaring the angle is also a tad tricky because it twists a little when locking it in place. Cumbersome when I have to go from a mitered cut back to square.
Just doesn't cut great. Have a Craftsman 10" compound sliding. Put a better blade on it and it got a little better, but a square edge is still dang near impossible. Seems to cut with a little bit of a wave from top to bottom. Squaring the angle is also a tad tricky because it twists a little when locking it in place. Cumbersome when I have to go from a mitered cut back to square.
The good woodworkers on here, radial saw better than a miter? Not super happy with my miter and there's an older decent looking Craftsman radial for sale locally.
A few pictures of the sink and vanity my step dad made on his lathe for my families cabin at the lake. He's a member of the woodturners guild, and has made some stunning work.


Pretty impressive stuff in here.
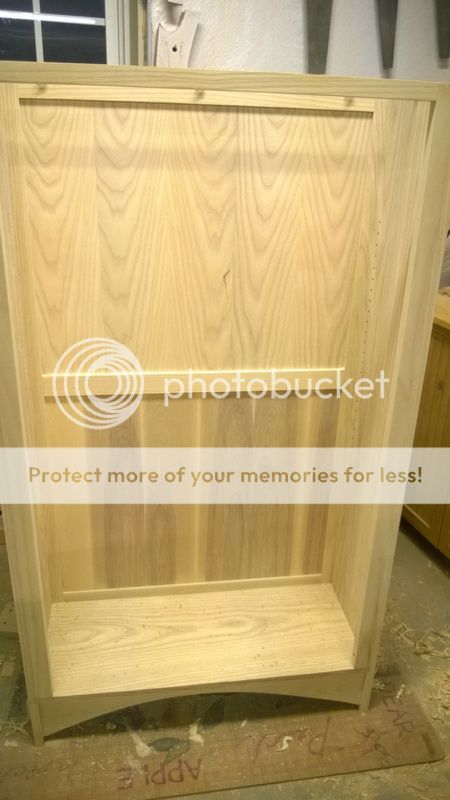
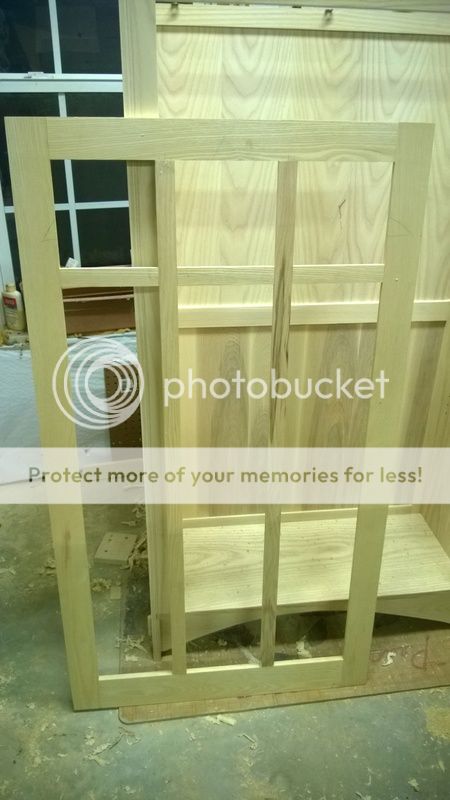
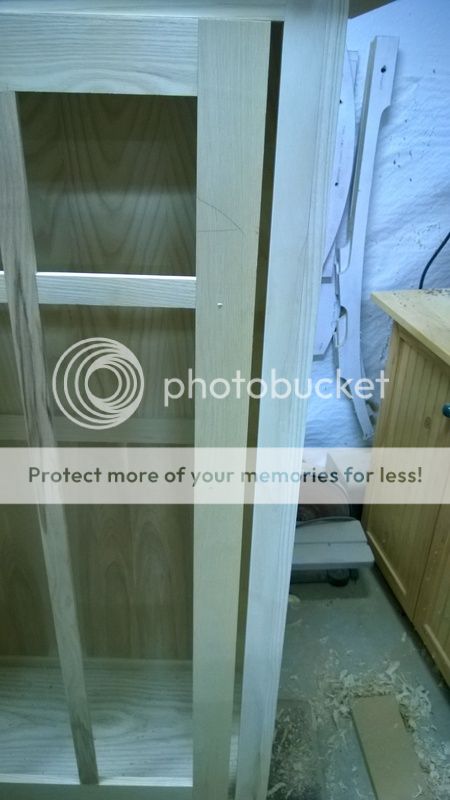
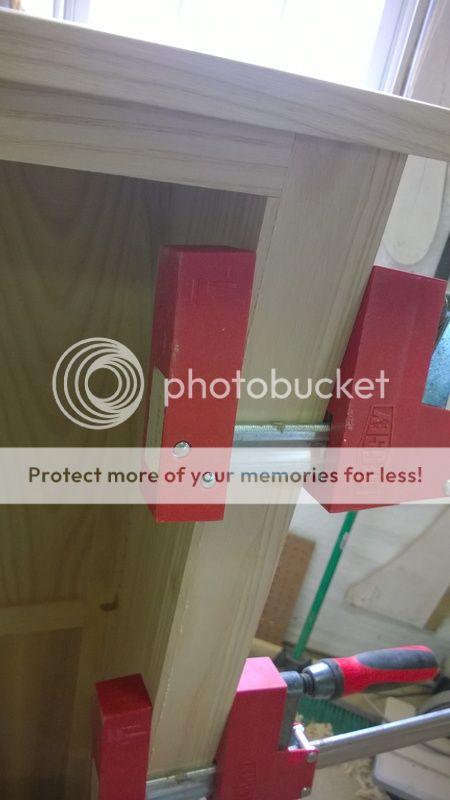
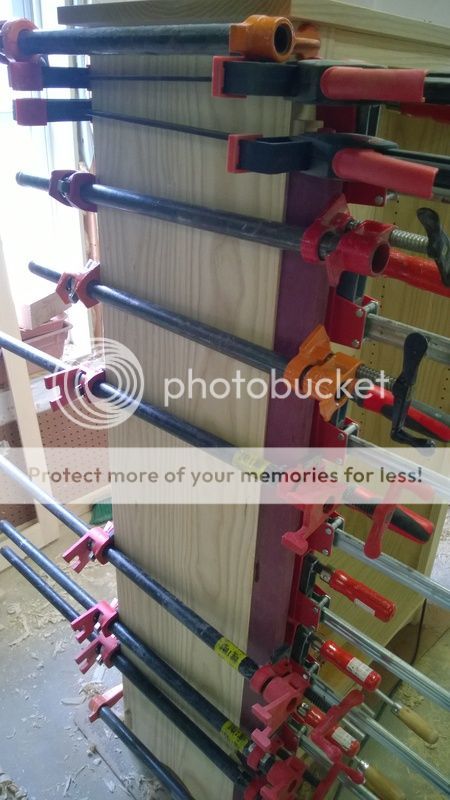
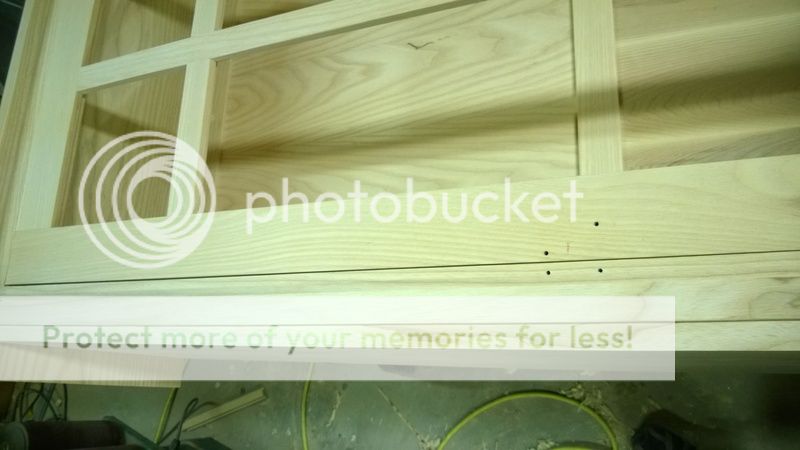
I made this stand for my work desk in a few hours.
Plan to take on a bigger project next. Thinking a shelf or bookcase.
VERY cool. I may just borrow that design, with your permission of course.
I want to join this hobby group. My wife wants all the radiators covered... Seem to be simple enough. Anyone have tips?
1. Do what your wife tells you.
2. Expect her to change her mind mid project... Just smile and wave.
3. Every new project requires a new tool. Build it into the budget.


