Putter Making - My First Unveil

Golf 'N Gator

Formally HoosierGolfer
Joined
Nov 15, 2009
Messages
18,845
Reaction score
59
Location
Sebring Florida
Handicap
8.9
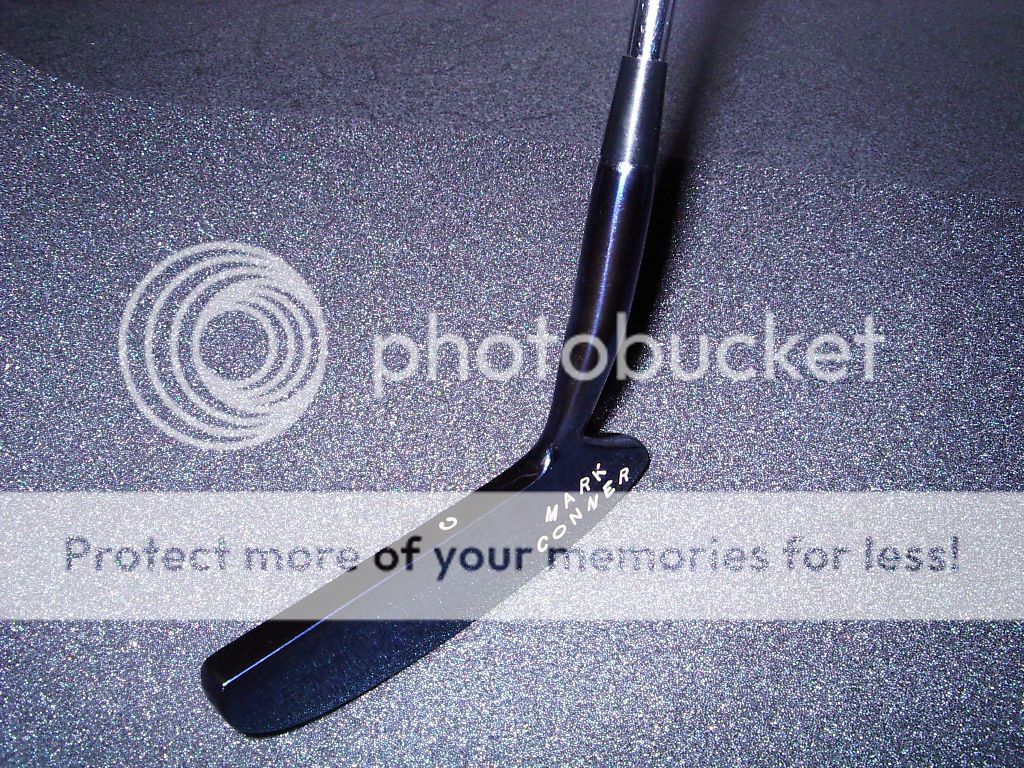
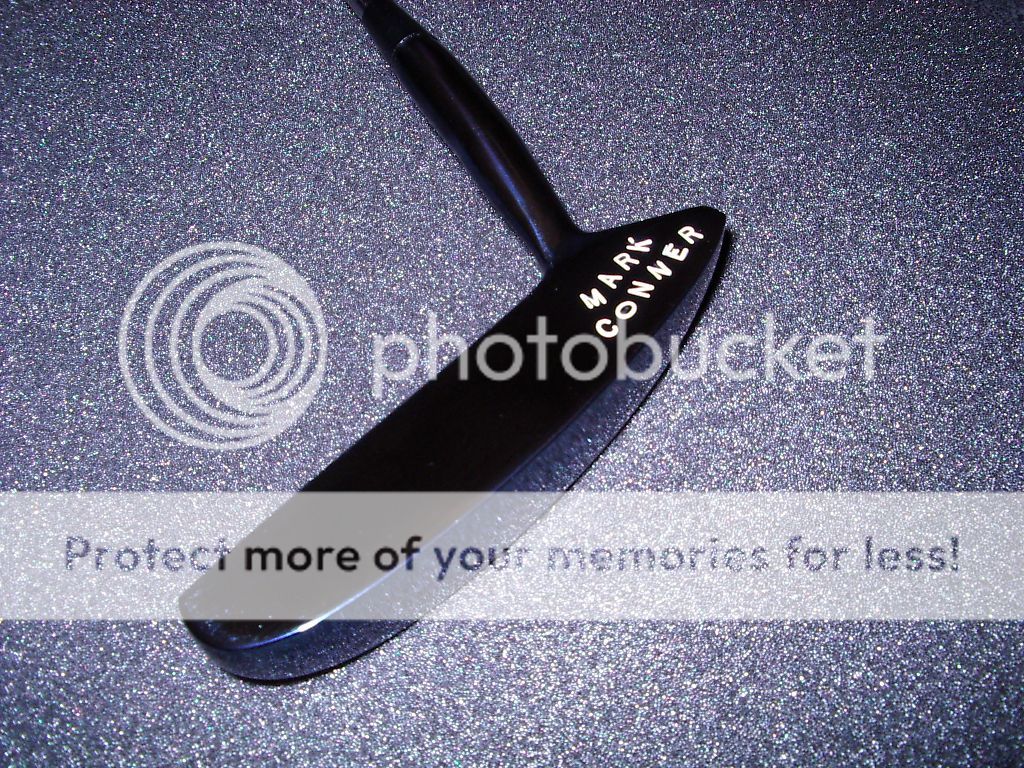
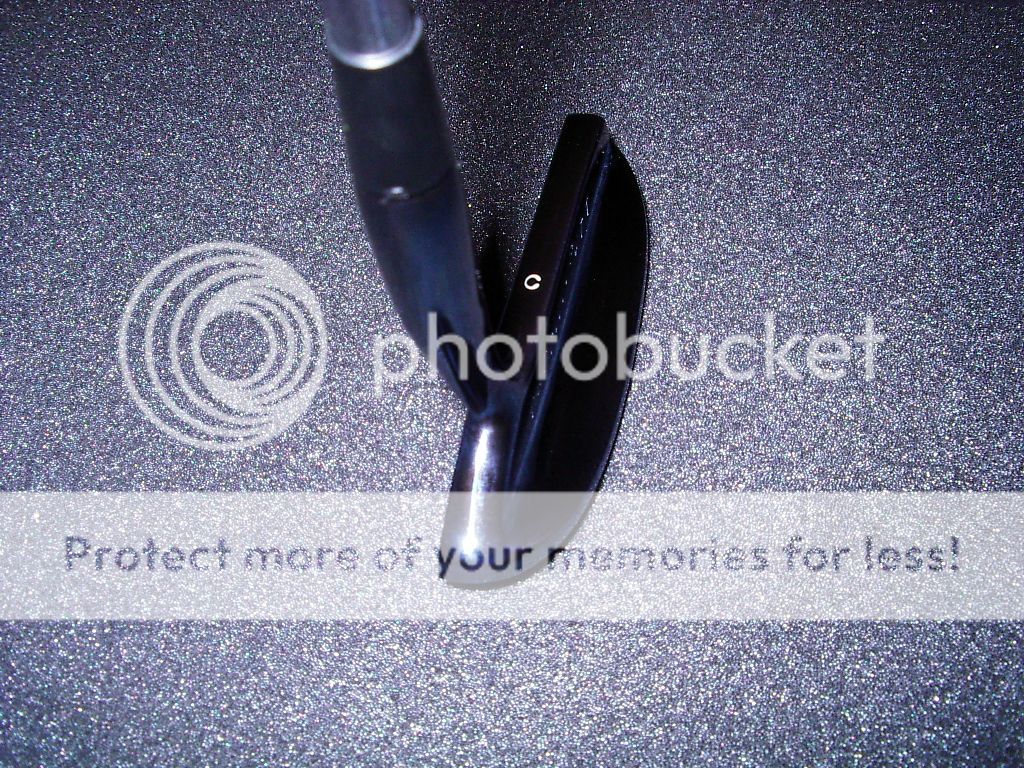
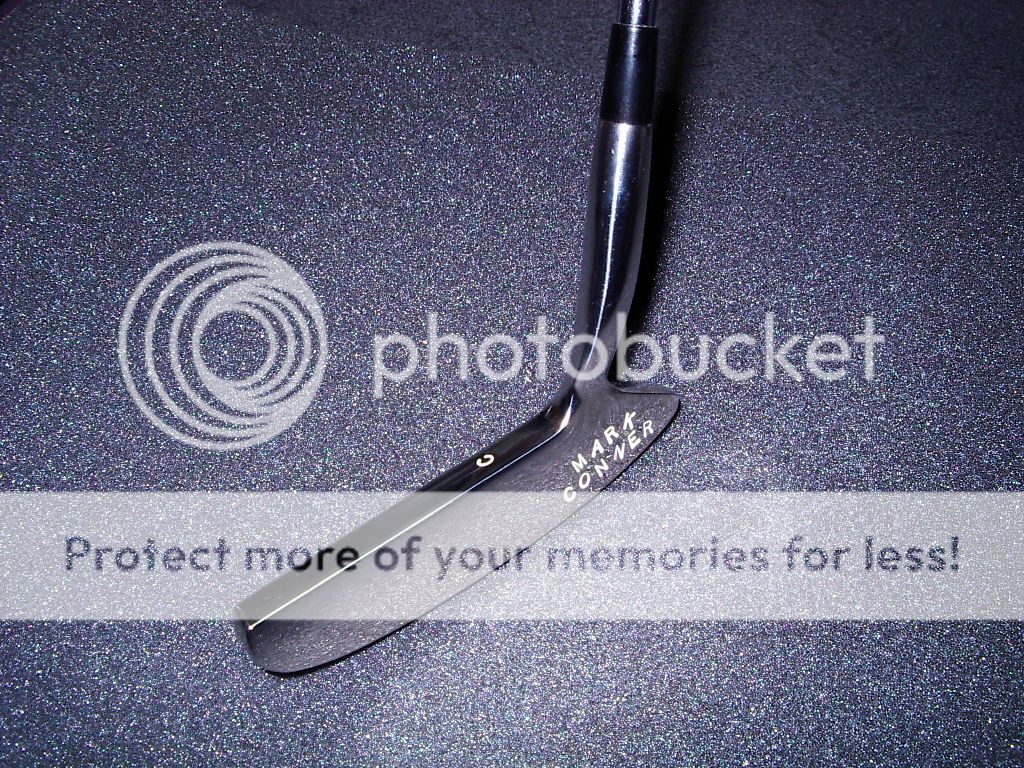
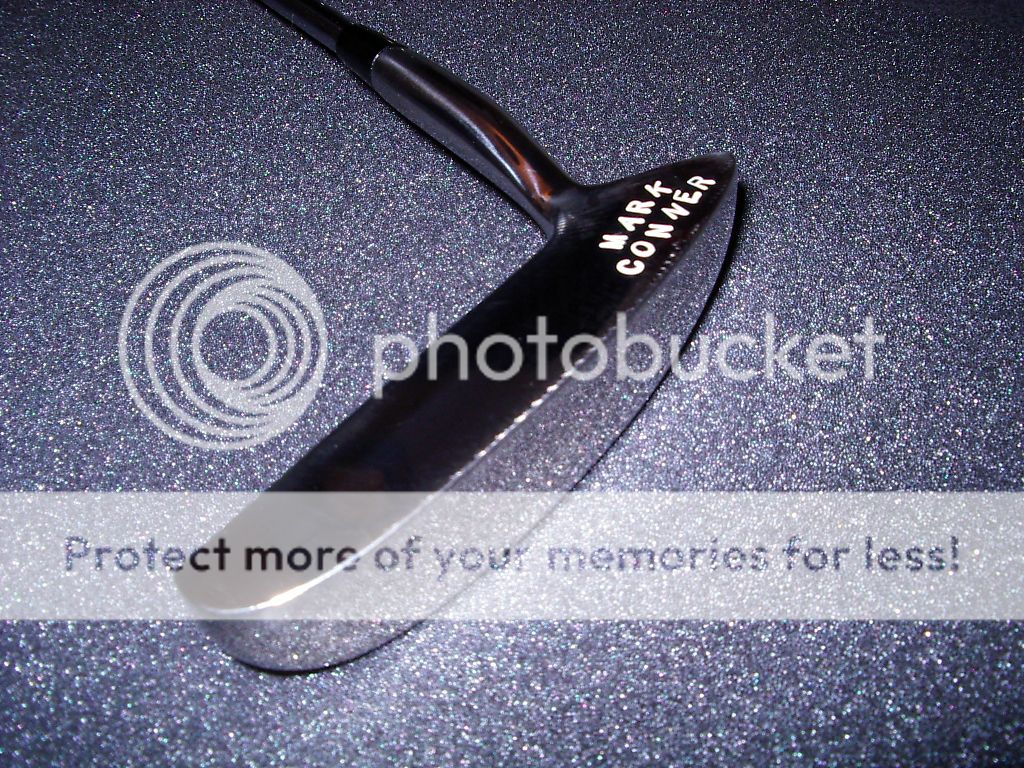
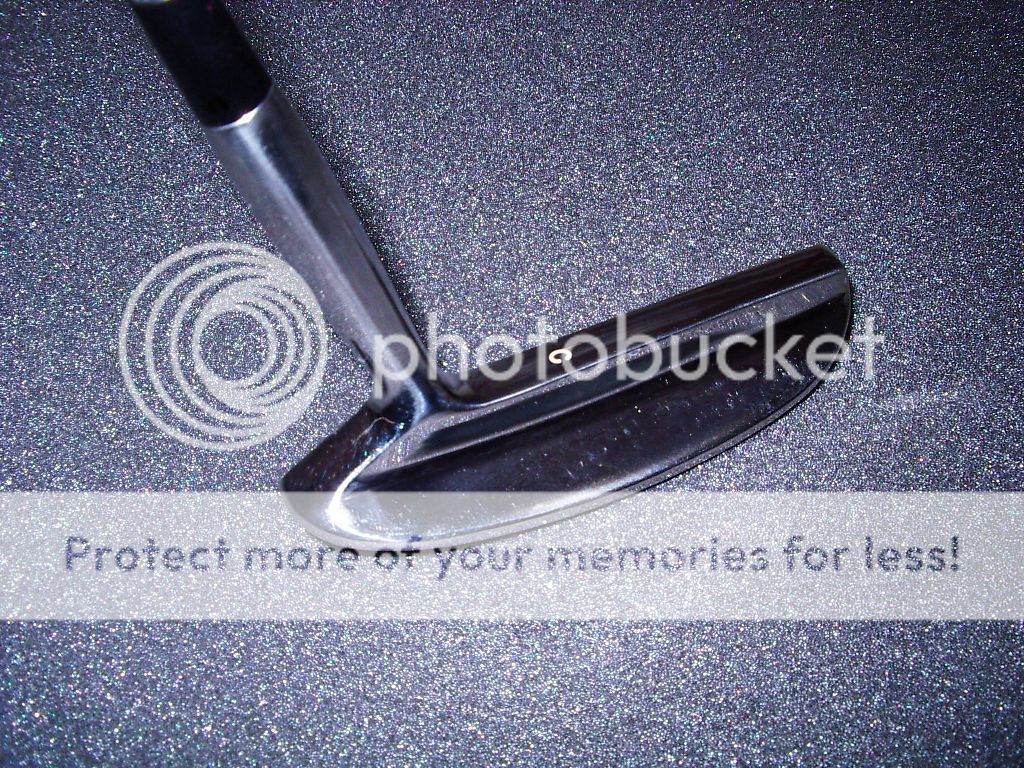
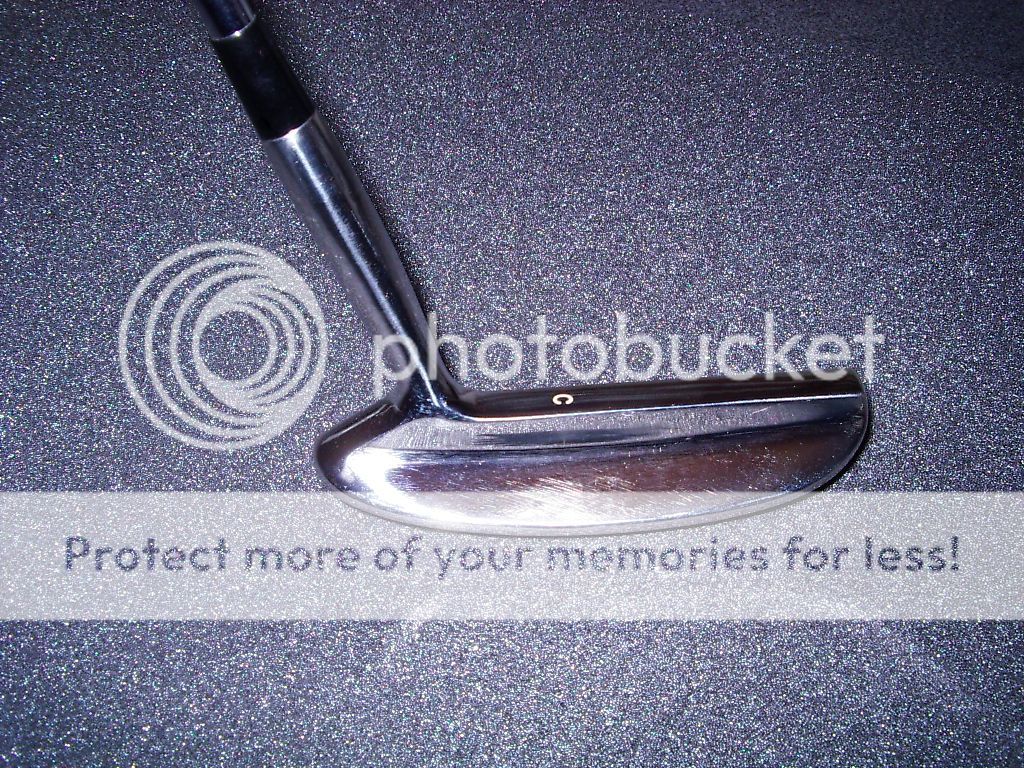
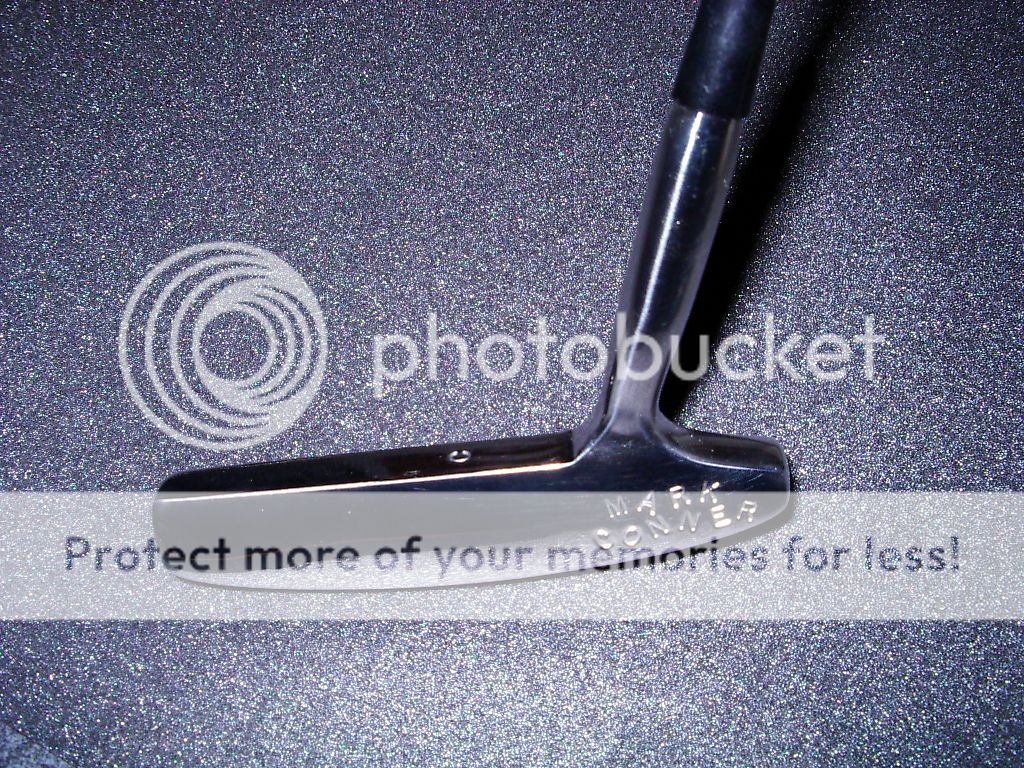
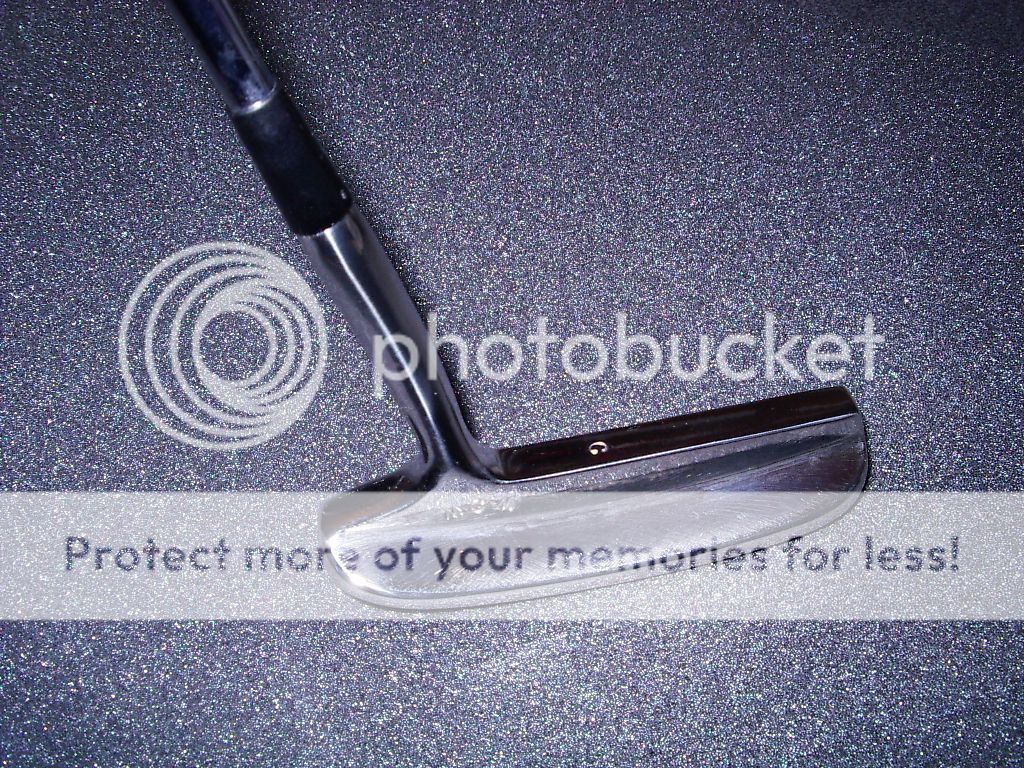
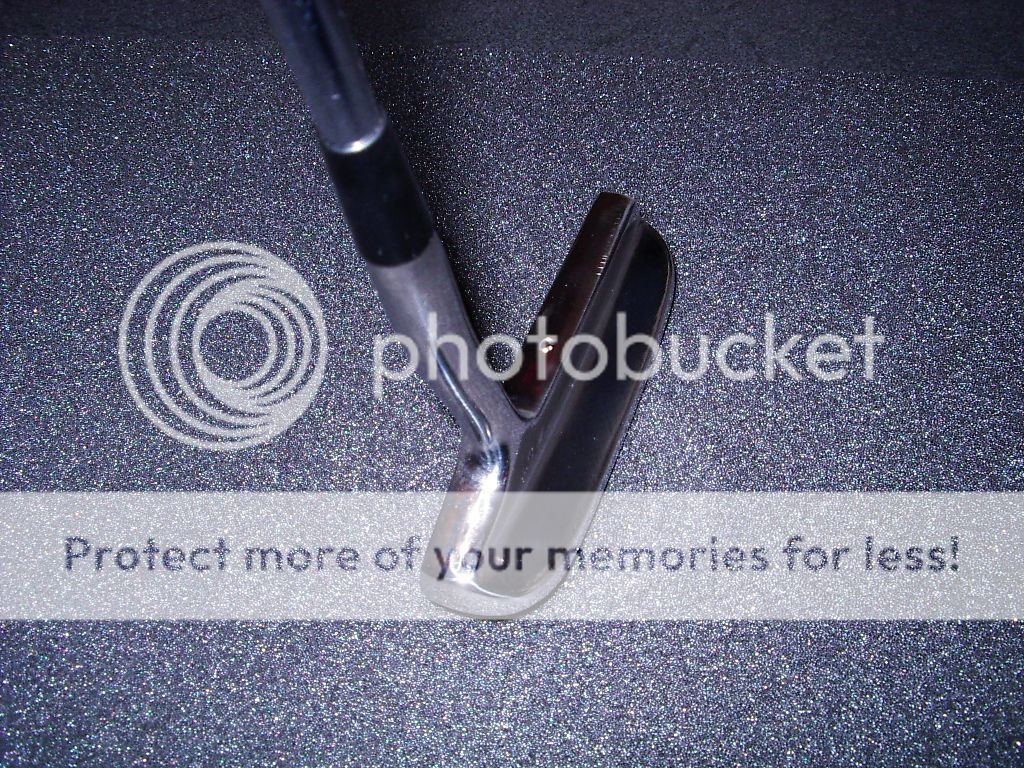
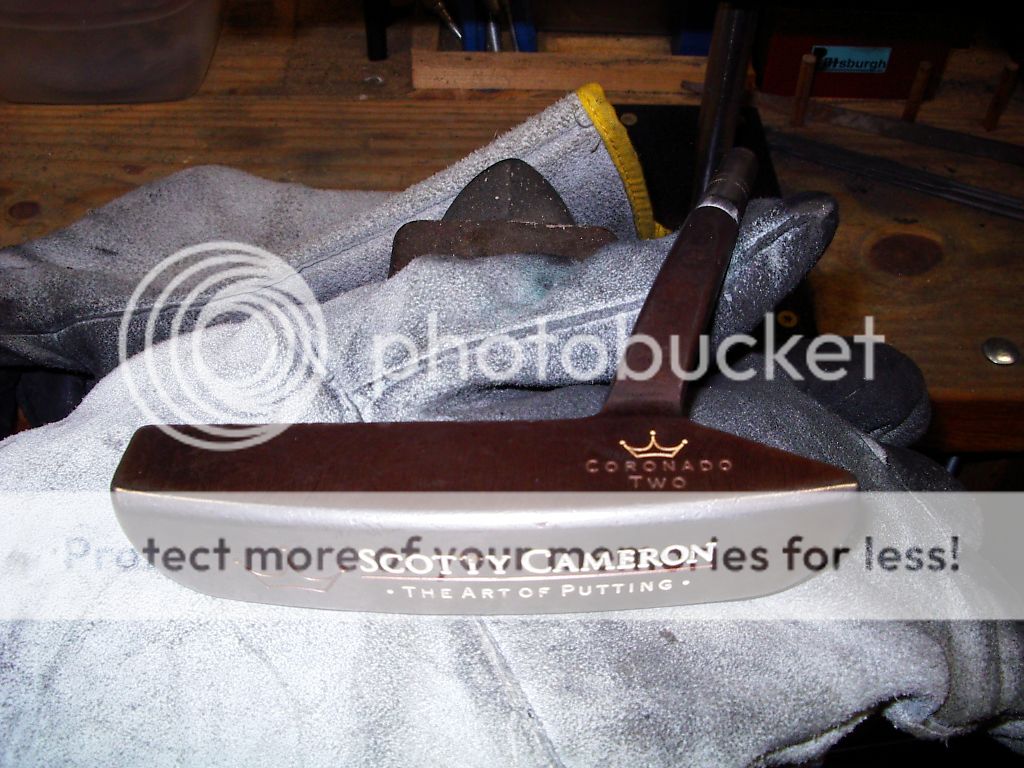
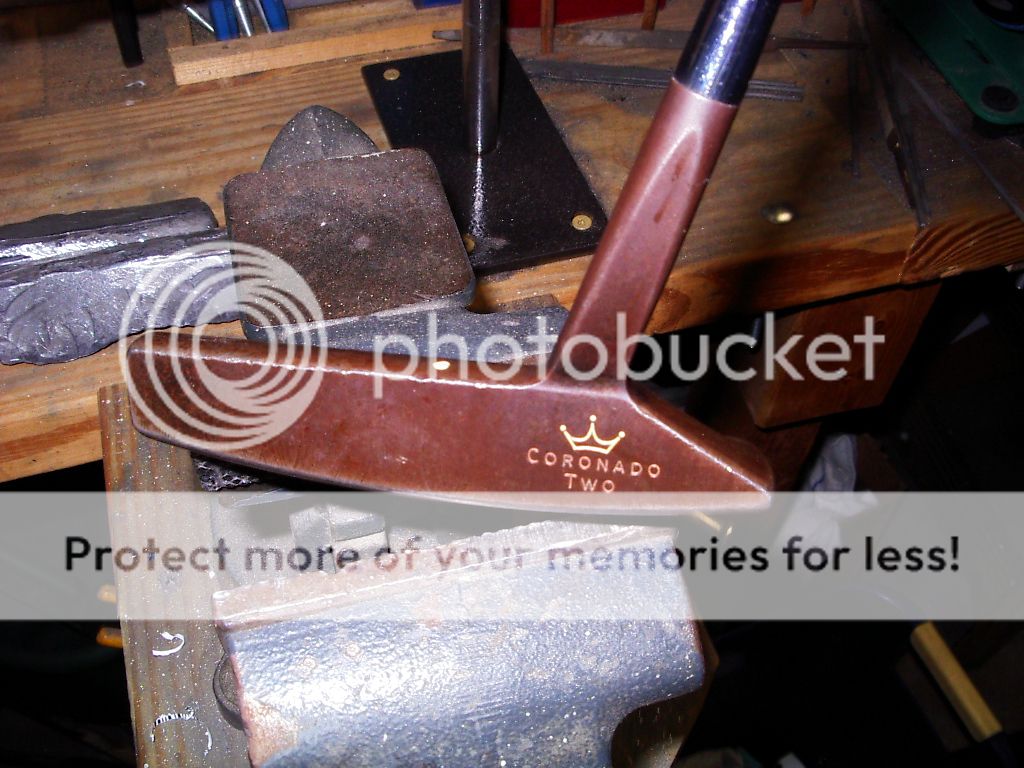
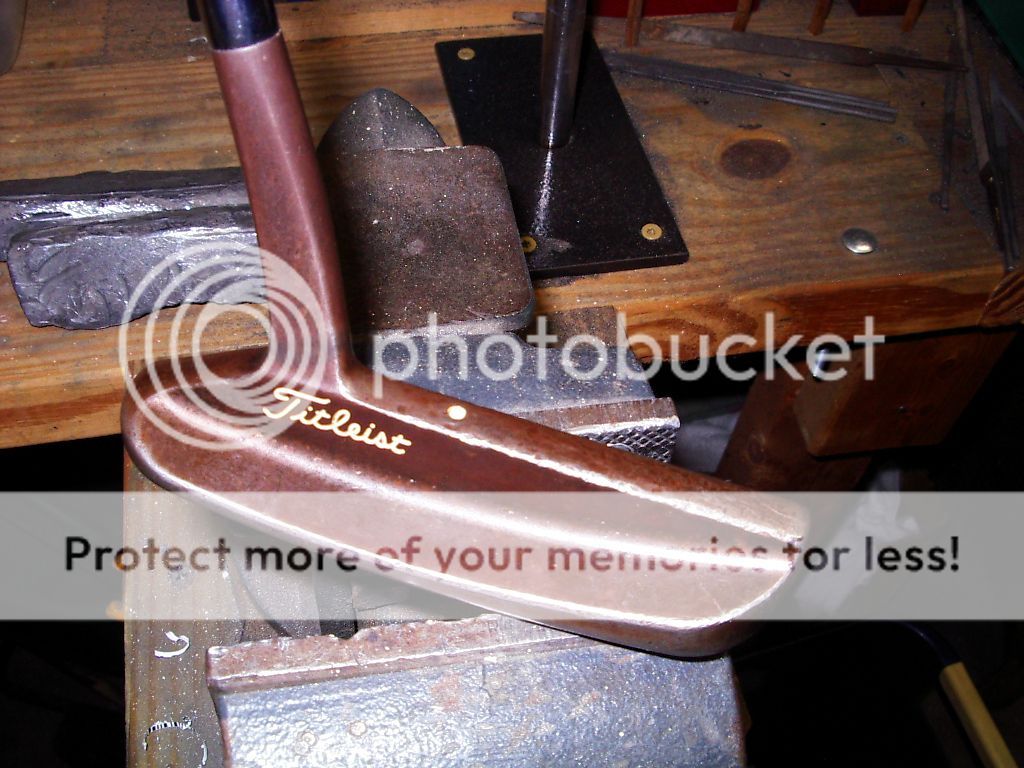
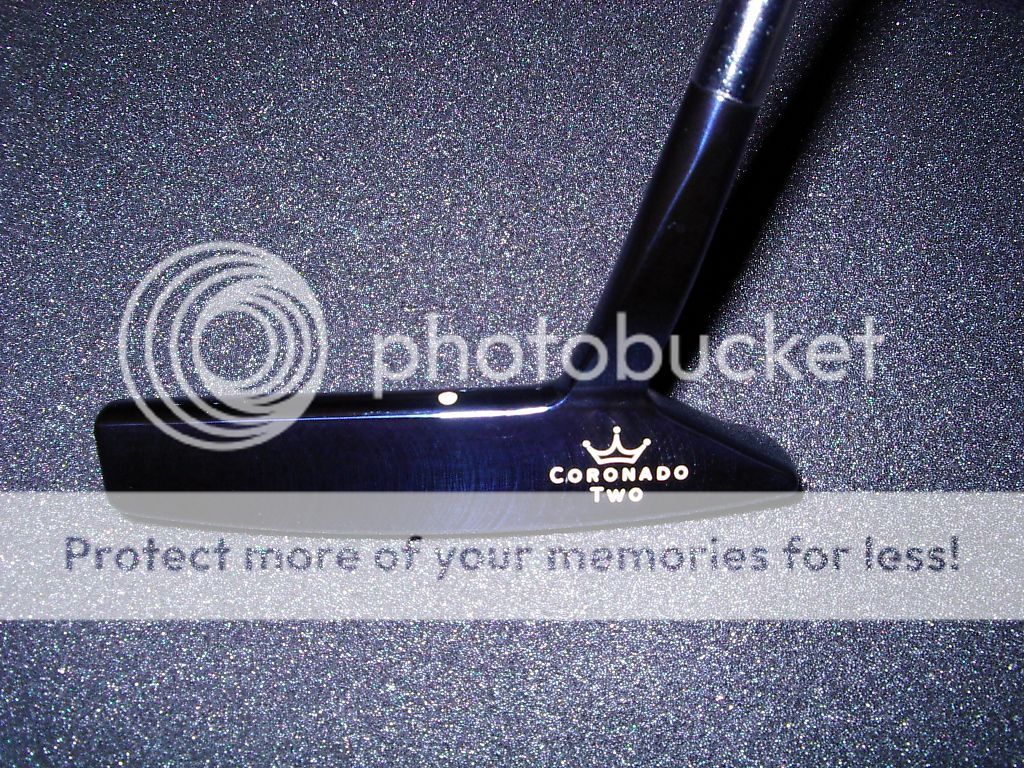
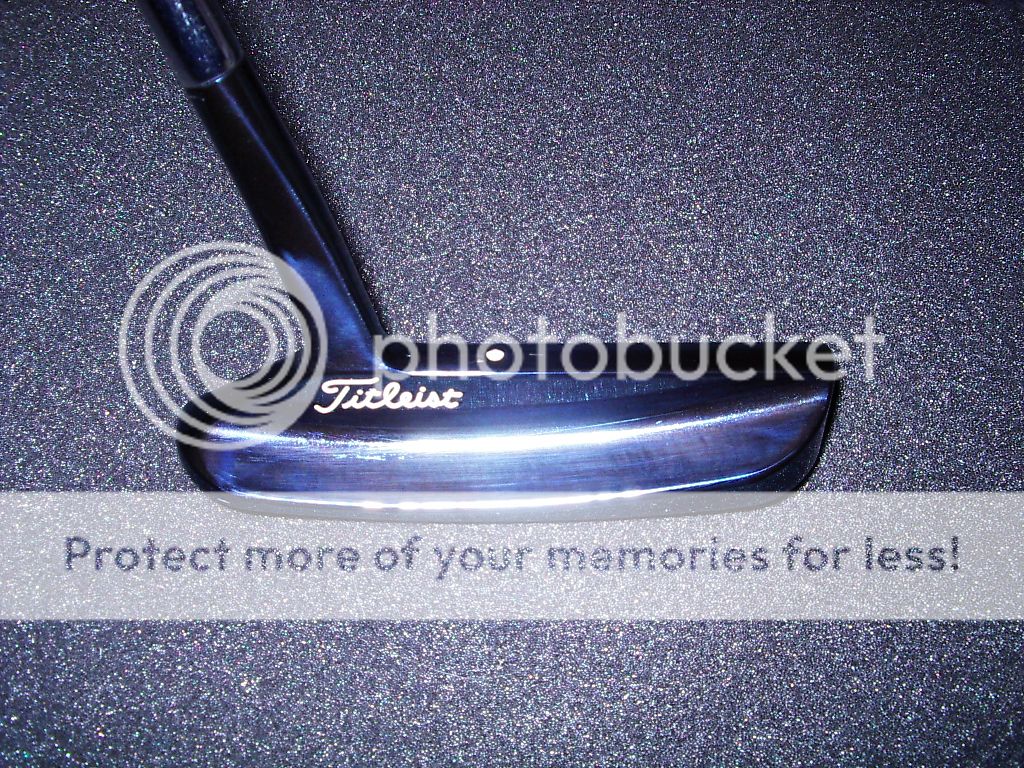
I've been refinishing putters for years and this past summer I decided to give making one from scratch a go. Lots and lots of trial & error. I've worked many hours on a couple only to have to trash them at some point. I'm a huge fan of what Cameron has coined the "pintail". TP Mills was the original designer of this style back in the early 60's. I have used Mr. Mills No.1 or "One" as the base for what I'm doing. I have made these putters entirely by hand, with the use of various power tools of course. I cut a block of steel and then cut the rough shape with a band saw. From there I use a combination of a table top mill, bench and hand grinders to get the shape. Once that is done the neck is made on lathe and welded to the head. From there the real work begins. All of the finish work is done with the use of hand air sander and various grinding wheels (different grits). At the end I use a couple of different Scotchbrite deburing type wheels run at a high speed. Finial finish is done on a high speed buffer with a couple of different wheels. These three putters are the result of weeks and hours & hours of work. I choose to use a ferrule as well to give them more of a classic look. While I think the results look good, I can't begin to say just how hard it is to get the offset right in the neck as well as base loft & lie. This a proper balance from toe to heel is hard to figure out. It is at this point I have screwed up more than one head. This thread is not in any way a sales pitch. None of the putters pictured are for sale. Same with the refinishing work pictured.
 
Sounds sweet, look forward to seeing the photos!
 
Does sound interesting. Can't wait to see what you came up with.
 
Post for subscription. Can't wait to see 'em Hoosier!
 
This pintail is made of carbon steel. Finish is a gun blue that is done at a high (650 degree) temperature. The head weight on this one is right at 340 grams. My family likes to play putt-putt golf now and then so I made this one with that in mind.
Pintail2a.jpg
Pintail2c.jpg
Pintail2b.jpg
Pintail2e.jpg
 
Sounds cool, can't wait to see the pics!
 
Wow. That looks sweet. I like how you used a C for the alignment dot.
 
Wow thats a real piece of art. Very cool.
 
This one was done in stainless which I thought would be a great idea as far as maintenance goes. I had no idea how hard stainless is to work with, but once I made a few tool changes, I was able to get along good. Headweight is 345 on this one.
Pintail1a.jpg
Pintail1d.jpg
Pintail1c.jpg
Pintail1b.jpg
 
Very cool! These look great.
 
Awesome stuff! I have been toying with the idea of making a putter next winter.
 
These are better looking than I thought they would be. Nice work Hoosier
 
This one again from stainless is a bit heavier at 355 grams. This one still needs the ferrule turned (noticed that when taking the pics). I spent weeks on this one. I cut the neck off twice before getting it right.
Pintail3d.jpg
Pintail3c.jpg
Pintail3a.jpg
Pintail3b.jpg
 
Really like the blue colour. Nice job. Curious to see the blue on green grass against a tour yellow ball.
 
Wow, great job! Roughly how long did it take to make each putter from start to finish once you got everything figured out?
 
Nice looking putters! I've dreamed of making my own putter, but I think that has to wait...a long time! :D
 
This is a Cameron I refinished for my brother in law. Some before and after pictures. This one was rusty and needed some work. Also remilled the face. The finish is the high temp gun blue.
IMGP3051.jpg
IMGP3050.jpg
IMGP3049.jpg
Cameron1b.jpg
Cameron1a.jpg
 
Beautifully done putters, I love the stainless models.
 
Those are very nice putters you have there. Great job. I can't imagine the amount of time you have in fabrication and finish on these. Wonderful job.
 
Wow that is really cool Hoosier. I understand there has been a ton of trial and error. But if you were to do another one, how long do you think it would take you from start to finish.
 
Those are awesome.
The only thing I'd be worried about is how flat the face is, looking at the reflection on the lady picture, it looks like there may be a dip in the face. How much that would effect putting, I don't know, but it can't be good for it.


They look awesome though.

~Joseph~
via Tapatalk
 
In the beginning there was lots of trial & error, mainly error. Once I figured out what short cuts would work and what wouldn't, I now can get something good together a lot faster. It is hard for sure, but not as hard as you would think if you have the right equipment. I start with a block of steel cut to the correct thickness. From there it is a matter of cutting away as much material as possible with the band saw. I tried torching out some area's but I like cutting betting, even though it takes time. Cutting out material in the area where the flange is takes the most time. Once I get close I then mill as much as possible. I need a larger mill but get by. Rounding all the edges takes some feel to get it right but this is all done with Scotchbrite wheels at high speed. The neck is by far the hardest part. Once the neck is made, I shape it again with the deburring wheel(s) before welding. I'm not a huge fan of the welded neck look, so I spend lots of time there building it up and then grinding it down. I'll do something soon with the welded neck left raw. I also want to do a carbon head with a stainless neck or stainless head and carbon neck so I can blue one part but not the other (the stainless won't take the bluing). Also maybe a all carbon head and neck but with a stainless weld. Lots of idea's, little time. It is hard, but not impossible. This is something I've been working towards a long time equipment wise. You have to have the right stuff.
 
Back
Top