
LoPan12
Member
- Joined
- Aug 7, 2014
- Messages
- 363
- Reaction score
- 4
- Handicap
- 36
Mine are not for sale, nor are my services for sale.
I'd been wanting a leather headcover for awhile now...So, after poking around for awhile, my DIY bug came and bit me. So, as I tend to do, I set about putting forth much more effort and cost into making something myself, instead of just buying it!
Important Link: The patterns, in PDF files!
I've made them with layers. To see/print just the panel, or just the outline, click the layers button (on the left hand toolbar in Adobe Reader) and toggle the appropriate layers. You'll have to play with printing as a poster, and taping the pages together before cutting your stencil out. Good luck! Let me know if you have any questions!
Materials:
Search Partial Leather Hides on ebay, and you will have many options.
$14 for orange leather: Picture was after taking out the driver headcover, probably enough for 2 or 3 more after my hybrid and fairway, depending on size. I believe it was about 7 sq ft to begin with.
$20 for ivory leather: Much bigger than I needed, but smallest partial hide they had in that color. couple of surface imperfections made it cheaper too. Could make several with this as the main color...might do that for christmas for a couple buddies...
~$10 for the microfleece
~$4 for elastic
~$10 for 4 spools of thread
$5 for Scor-Tape (the 1/8" double-sided tape)
~$10 for random other things I didn't have or ran out of
Equipment:
Singer 4423 Sewing Machine
Heavy Duty Denim needles. Leather needles aren't needed for the softer leather. Those may leave a bigger hole.
Started with a couple hides of my chosen color, and a bit of polar fleece. And a shih-tzu. Very important.

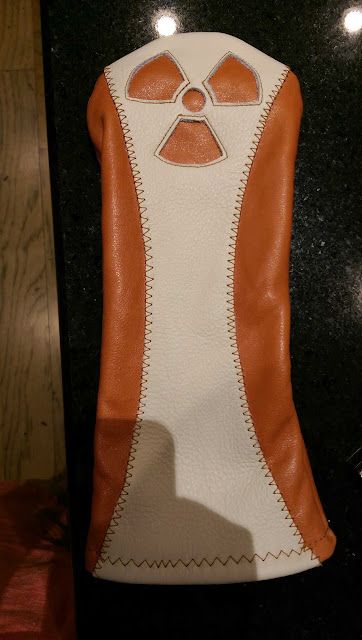
After a bit of testing, and a trial run with vinyl, i determined the size that I wanted. So, I printed out some stencils, and used them to cut these. A rotary cutter for the big cuts, and an exacto for the radiation symbol (I work at a nuke plant).
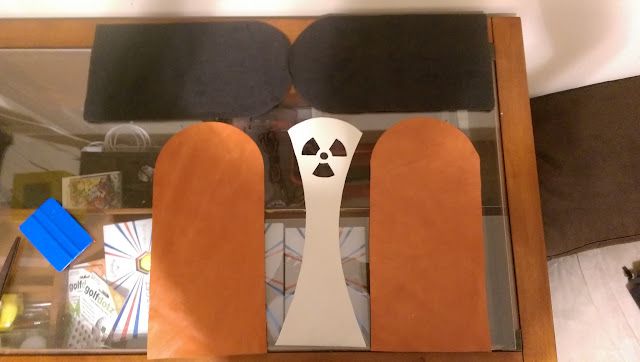
Then I top-stiched the cream panel onto the front panel. I used a zig-zag because the cream was much thicker than I had thought it would be (a little over 2mm, vs 1mm for the orange), and it blended the two together well. Used basting tape (1/8" wide double sided tape) through out to hold pieces together. This kept things from stretching or bunching as it fed through the sewing machine.
The top and bottom didn't really matter, since they got stitched into the the hems. Also, I pulled the threads through to the back for finishing.

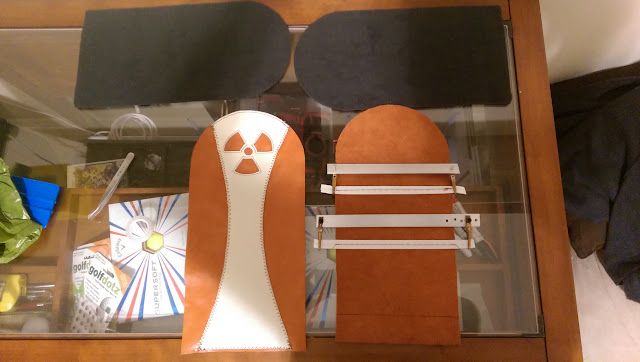
Next, I sewed the elastic onto the back panel. I found it annoying to sew with the back bunched up, so I made a couple jigs out of some scrap aluminum and alligator clips to hold them stretched out. That way, I could do the basting and sewing with it perfectly flat.
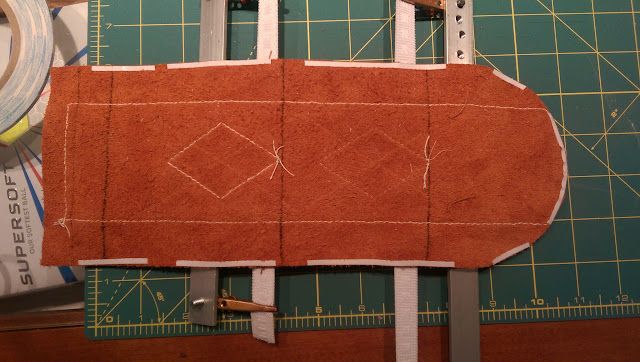
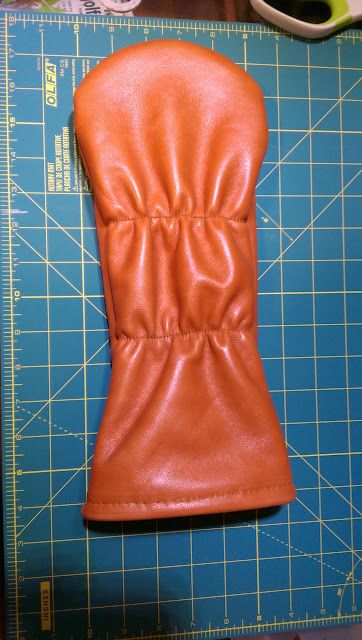
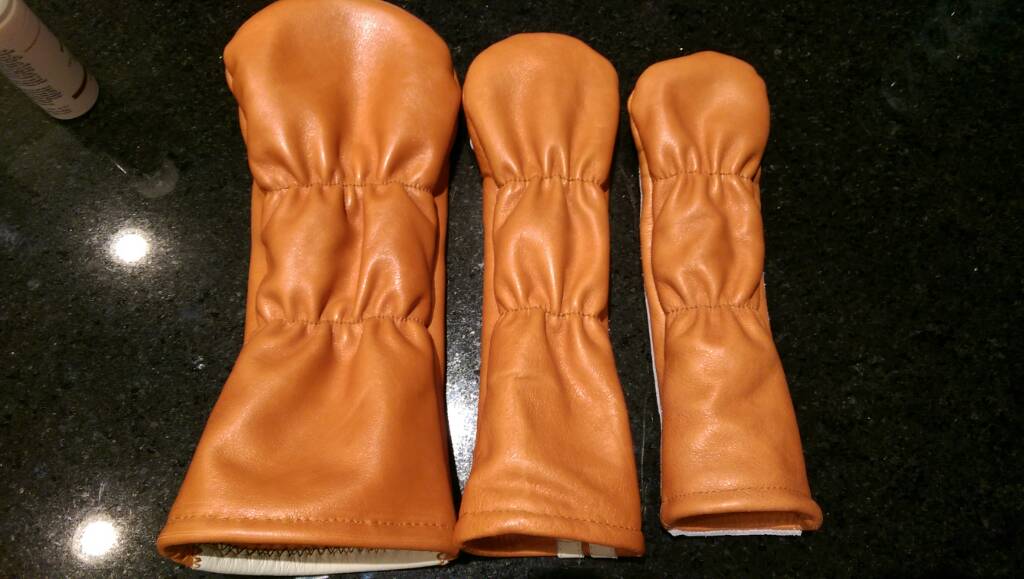
Then, using the basting tape, I stuck the fleece to the leather, and then the two leather together. The following picture is of one side of leather with the tape (backing still on) before attaching the fleece, on the hybrid cover. A quick stitch around the perimeter and I was almost done. I kept a seam allowance of about 3/8" from the edge.
BUT! When I folded the bottom hem over, the top panel ended up being too thick for my machine to handle well. It was also too tight to feed well on its own, so I had to hand crank the machine, and make sure it fed each stitch the right distance. It ended up being too thick on the front panel, and I wasn't reliably picking up the bottom thread. I was sewing through four layers of leather (two of each color) and a layer of fleece...
In my later covers, I figured out that because the leather was thick, and not feeding fully, it would deflect the needle towards me, and keep it from picking up the thread. So I had to gently pull the cover through as the feed dogs were feeding, to make sure the needle was vertical all the way down. Be careful though, pulling too far/hard will affect how the stitching looks as well.
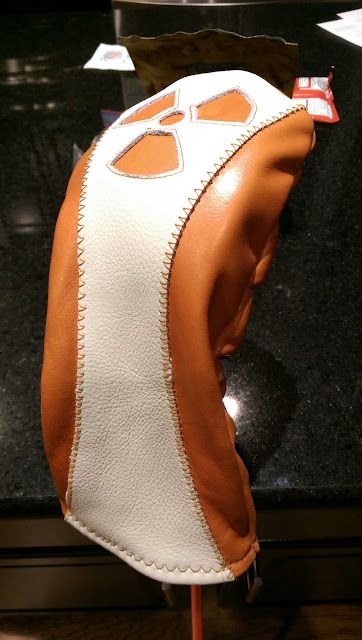
After two failed attempts at a straight stitch all the way around (it wasn't very straight on the cream part...), I flipped it and did a zig zag along the cream section. Two reasons..It was easier to keep straight (or atleast appear that way), and it compressed the leather enough that it hides the holes from the straight stitch well.
I do wish it ended up being a hair longer, as my 9 iron is just barely short enough to be able to hit the shaft...ohh well! I'll let the 3-wood run D for it")
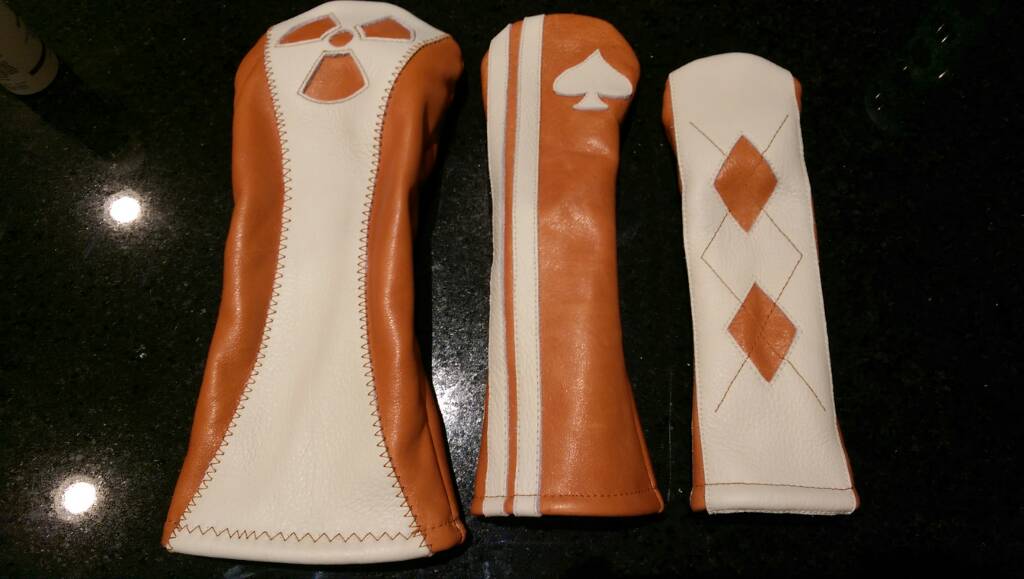
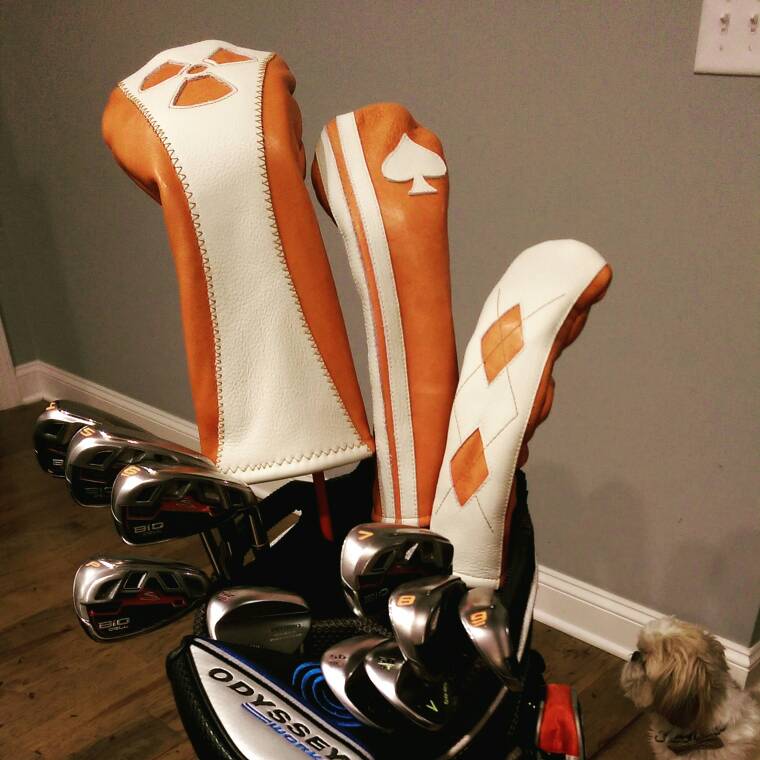
Here's the finished set! I was able to use a straight stitch on the top stitching for the fwy and hybrid covers because I shaved the back of the leather and made it much thinner (lookup leather skiving). I used a standard utility knife razor bolted to a wooden handle for this..
And here are some more random pictures...
Just Hybrid
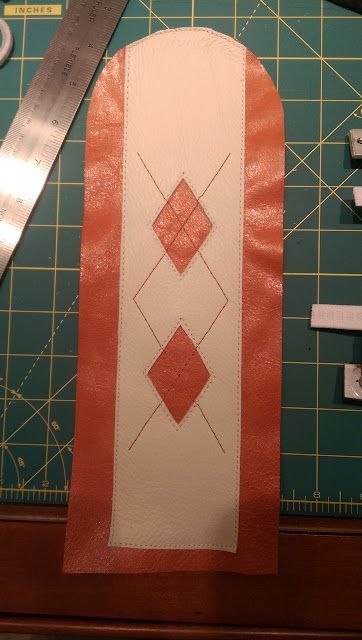
When I top stitched the orange thread, I did it with my stencil still stuck to the panel. I had cut slits along the lines, and sewed in the cut, which kept them very straight.
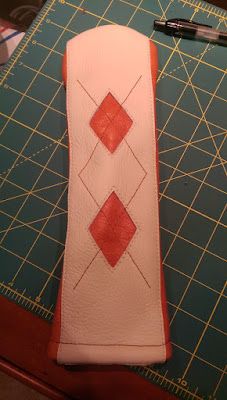
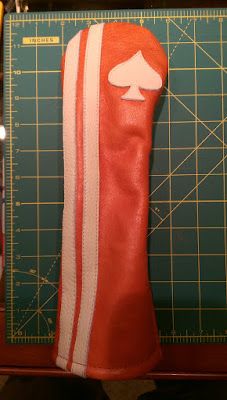
Just Fairway
I'd been wanting a leather headcover for awhile now...So, after poking around for awhile, my DIY bug came and bit me. So, as I tend to do, I set about putting forth much more effort and cost into making something myself, instead of just buying it!
Important Link: The patterns, in PDF files!
I've made them with layers. To see/print just the panel, or just the outline, click the layers button (on the left hand toolbar in Adobe Reader) and toggle the appropriate layers. You'll have to play with printing as a poster, and taping the pages together before cutting your stencil out. Good luck! Let me know if you have any questions!
Materials:
Search Partial Leather Hides on ebay, and you will have many options.
$14 for orange leather: Picture was after taking out the driver headcover, probably enough for 2 or 3 more after my hybrid and fairway, depending on size. I believe it was about 7 sq ft to begin with.
$20 for ivory leather: Much bigger than I needed, but smallest partial hide they had in that color. couple of surface imperfections made it cheaper too. Could make several with this as the main color...might do that for christmas for a couple buddies...
~$10 for the microfleece
~$4 for elastic
~$10 for 4 spools of thread
$5 for Scor-Tape (the 1/8" double-sided tape)
~$10 for random other things I didn't have or ran out of
Equipment:
Singer 4423 Sewing Machine
Heavy Duty Denim needles. Leather needles aren't needed for the softer leather. Those may leave a bigger hole.
Started with a couple hides of my chosen color, and a bit of polar fleece. And a shih-tzu. Very important.
After a bit of testing, and a trial run with vinyl, i determined the size that I wanted. So, I printed out some stencils, and used them to cut these. A rotary cutter for the big cuts, and an exacto for the radiation symbol (I work at a nuke plant).
Then I top-stiched the cream panel onto the front panel. I used a zig-zag because the cream was much thicker than I had thought it would be (a little over 2mm, vs 1mm for the orange), and it blended the two together well. Used basting tape (1/8" wide double sided tape) through out to hold pieces together. This kept things from stretching or bunching as it fed through the sewing machine.
The top and bottom didn't really matter, since they got stitched into the the hems. Also, I pulled the threads through to the back for finishing.
Next, I sewed the elastic onto the back panel. I found it annoying to sew with the back bunched up, so I made a couple jigs out of some scrap aluminum and alligator clips to hold them stretched out. That way, I could do the basting and sewing with it perfectly flat.
Then, using the basting tape, I stuck the fleece to the leather, and then the two leather together. The following picture is of one side of leather with the tape (backing still on) before attaching the fleece, on the hybrid cover. A quick stitch around the perimeter and I was almost done. I kept a seam allowance of about 3/8" from the edge.
BUT! When I folded the bottom hem over, the top panel ended up being too thick for my machine to handle well. It was also too tight to feed well on its own, so I had to hand crank the machine, and make sure it fed each stitch the right distance. It ended up being too thick on the front panel, and I wasn't reliably picking up the bottom thread. I was sewing through four layers of leather (two of each color) and a layer of fleece...
In my later covers, I figured out that because the leather was thick, and not feeding fully, it would deflect the needle towards me, and keep it from picking up the thread. So I had to gently pull the cover through as the feed dogs were feeding, to make sure the needle was vertical all the way down. Be careful though, pulling too far/hard will affect how the stitching looks as well.
After two failed attempts at a straight stitch all the way around (it wasn't very straight on the cream part...), I flipped it and did a zig zag along the cream section. Two reasons..It was easier to keep straight (or atleast appear that way), and it compressed the leather enough that it hides the holes from the straight stitch well.
I do wish it ended up being a hair longer, as my 9 iron is just barely short enough to be able to hit the shaft...ohh well! I'll let the 3-wood run D for it
Here's the finished set! I was able to use a straight stitch on the top stitching for the fwy and hybrid covers because I shaved the back of the leather and made it much thinner (lookup leather skiving). I used a standard utility knife razor bolted to a wooden handle for this..
And here are some more random pictures...
Just Hybrid
When I top stitched the orange thread, I did it with my stencil still stuck to the panel. I had cut slits along the lines, and sewed in the cut, which kept them very straight.
Just Fairway
Last edited:


