Iron Reshafting Experience: j33 Irons

Canadan

LGND
Albatross 2024 Club
Staff member
Joined
May 16, 2010
Messages
149,208
Reaction score
107,303
Location
Ohio
Handicap
**
Disclaimer: This is my first attempt at reshafting irons... The intention here is to just share my experiences, not as a perfect guide to the reshafting process. There are plenty of incredible videos out there done by PGA Professionals who have been reshafting for years.

The Goal


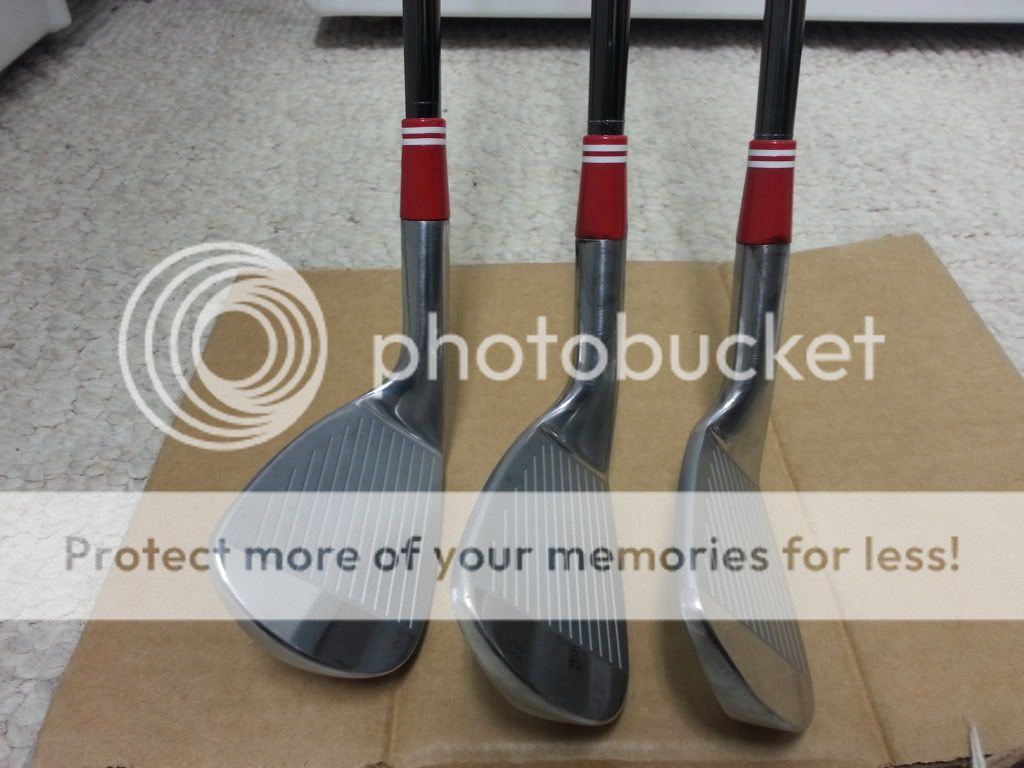
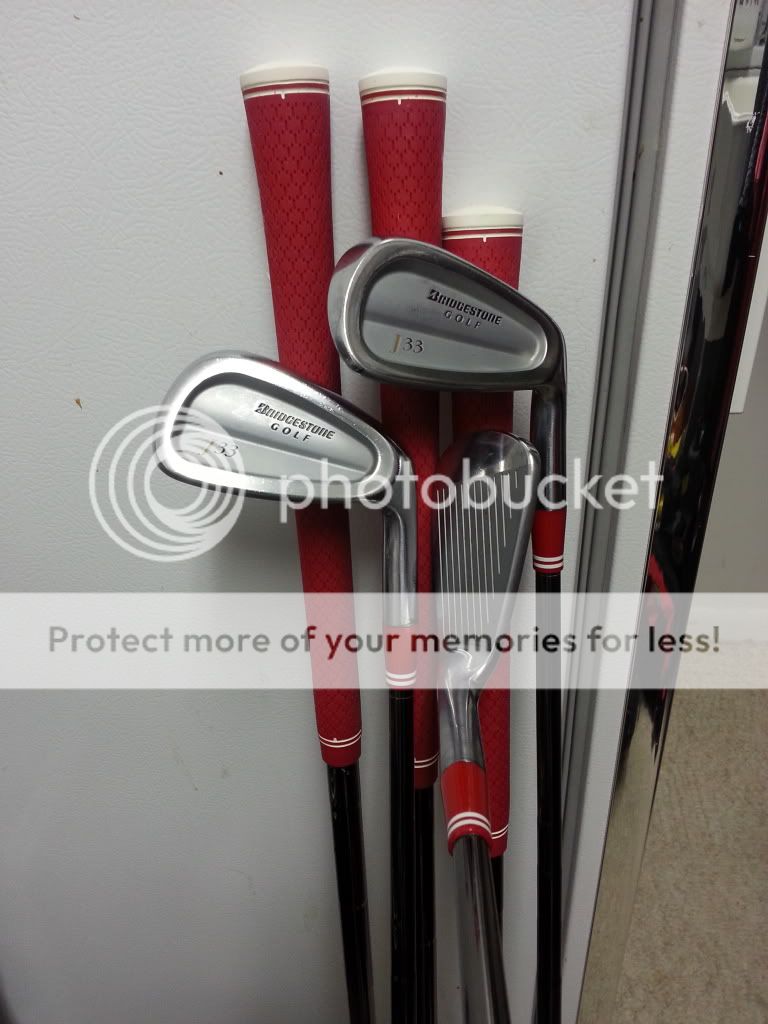
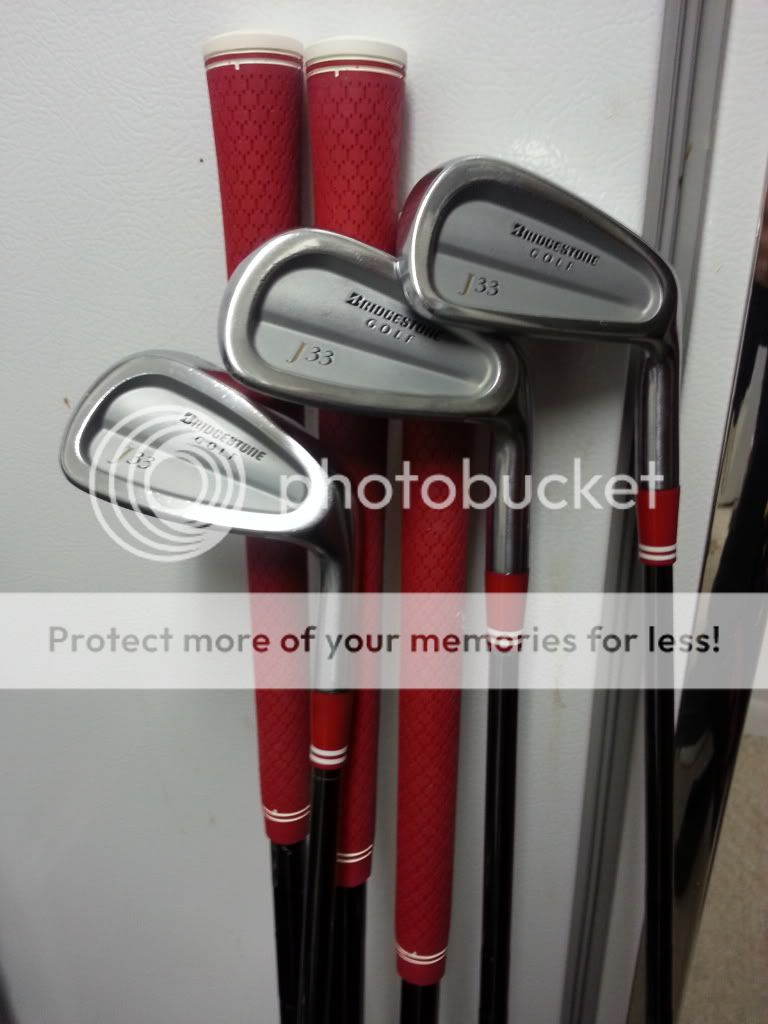
So I've been talking around the forum about re-shafting my j33's (currently with the Dynamic Gold SL s300 shafts) with a set of KBS Tour Black Nickel X flex shafts. The end goal will be 3/4" longer than standard which is set on Bridgestone's site for J33's

Specifications

IronLoftLieLengthS/WOffset
218°59°39.25"D33.2 mm
321°60°38.75"D33.0 mm
424°61°38.25"D32.8 mm
527°62°37.75"D32.6 mm
631°62.5°37.25"D32.4 mm
735°63°36.75"D32.2 mm
839°63.5°36.25"D32.0 mm
943°64°35.75"D31.8 mm
PW47°64.5°35.25"D31.6 mm

To my understanding, adding a 1/2" inch to a club will mean they will sit about 1* flat at address, which I'm good with. I may consider having them bent 1* strong eventually, but that won't be a part of this.. I just wanted to document the process for anyone considering doing some reshafting at home.

The Goods

In order to get this done, I had to pick up the following pieces of equipment -- I'm basically going from scratch on a lot:

- Four shaft extensions - both sides can be used, so four extensions = 8 shafts (Golf Galaxy, GolfSmith, etc)
- hacksaw to cut extensions (home depot, Lowes)
- Mitre board in order to cut the shafts dead straight (Home Depot, Lowes)
- Sand paper + screwdriver (I'd prefer a wire brush but couldn't find one locally)
- heat gun (or torch, that's optional)
- epoxy (I'd avoid the quick set personally)
- ferrules (cell-parts is an awesome option)
- work gloves

Removing the Old Shafts

Steel shafts are quite a bit easier than graphite and you can spin them as the epoxy bond weakens. I would encourage spinning after a decent amount of heat as it takes quite a bit less time, especially with the convenience of the grip on there. Make sure to use a work glove or heat protected glove on the hand holding the clubhead because it definitely heats up!!!!

This process is really quite simple. My Wagner heat gun has two temps (750* and 1000*) and I ran it at 1000* with no issues.. Some folks like to use a torch for this process but I also play hockey so I opted to buy the heat gun because it works well on replacing blades on hockey sticks.

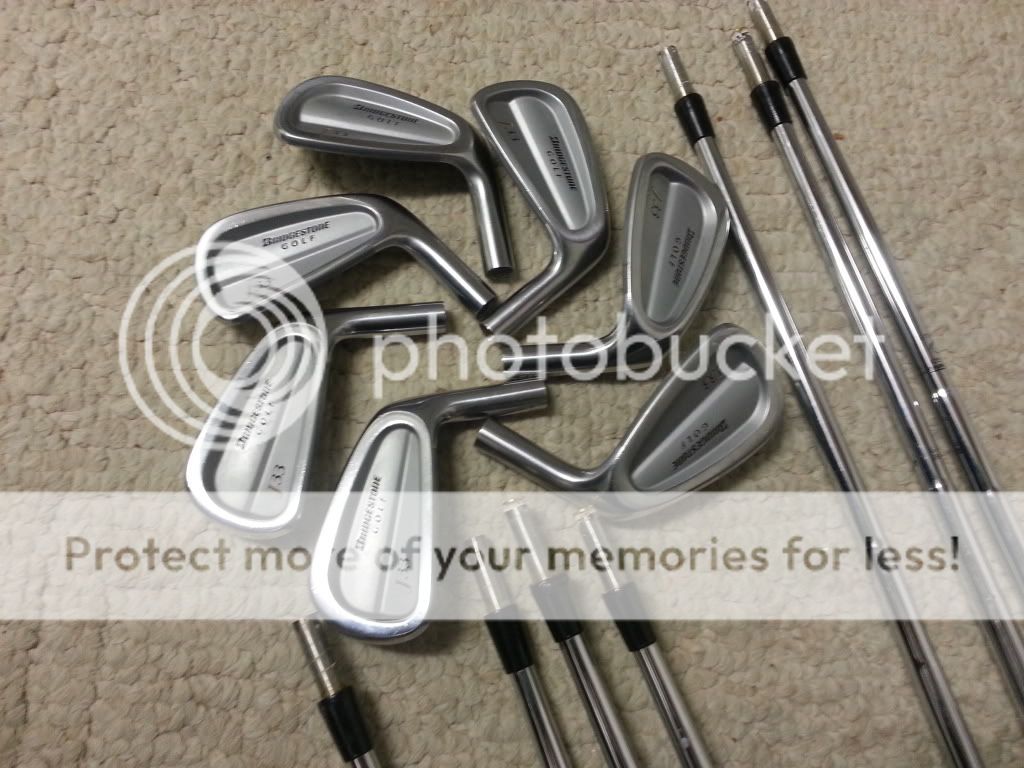
Some shafts have small weights on the ends of them (visible in the photo below), and they can get left behind after the original pull. Rather than drilling them out like some videos suggest, add a bit of heat higher up on the hosel, and slowly start to knock away the extra epoxy around it in the hosel. Then use something 'like' a drill bit to get inside the weight and start twirling it. That should eventually make it loose enough to be tugged out.

20130210_233422.jpg


The next step is to clean out the hosel of any remaining epoxy. I'm going to keep uploading as I continue the process and I'll edit everything into this post. I hope anyone considering club building finds this beneficial and those who are pros can chime in with better practices.. Right now it's a mix and match of the most effective ways I've read about.
 
Last edited:
  • Thread starter
  • Moderator
  • #2
Cleaning Out the Hosel

An important step during the reshafting process is getting the hosels cleared of any old epoxy. Rather than talk about it, I figured i'd make a video step to show you guys what I did..

[video=youtube;ukL-jgf_AuY]http://www.youtube.com/watch?v=ukL-jgf_AuY[/video]

This process can also be completed by a wire brush (GolfWorks sells them) I just didn't feel like waiting for one to be delivered.

Epoxying the Shafts

This step is the one I feared the most! It just seems so final, but really, you've got TONS of time to get it right, so be patient!

First, mix your epoxy solution onto a spare piece of cardboard and stir it with anything narrow enough to get inside the hosel.

Next, the ferrule. This is kind of tricky and I tried a couple options first before finding a preferred method. The first option is to heat up a bowl of water in the microwave and let the ferrule sit in it for a while to soften. This works okay, but it really doesn't get the job done, as the ones I purchased were quite tight on the shaft. I opted to heat the ferrule at the lowest setting of my heat gun and rapidly moved it around to avoid any melting. At the right heat, the ferrule should easily slide into place.

The next 'learn as I went' experienced was to put the clubhead on while the ferrule was still heated in order to get the right distance. The first couple I had it separated and had to bring it back down which was a pain.

At this point it's ready for the epoxy. Using the stirring tool (I used four toothpicks taped together) basically fill up the hosel with epoxy. Then add some to the shaft tip and insert it into the hosel. This process will allow everything to be epoxy'ed, and the excess ends up heading up into the shaft. Also learning the hard way, the third one I completed (these were previous pulls) was already plugged by hard epoxy and I had to drill it out. Fair warning, if that epoxy has nowhere to go, you won't be able to get the shaft in there!!

Anywho, here are the three I've completed. Everything I've read said that acetone after it cures is a great way to get rid of the excess epoxy around the head and ferrule.

20130211_011631.jpg


Cutting the Shafts to Length (or Extensions)

An important part of the reshafting process is getting the right length of shaft for your game.. I decided to put a little video together to discuss it, but in short, I found that having a shaft cutter is much easier than utilizing a hacksaw and mitre board for a straight cut. Here's the video:


Completing the ReShaft with Epoxy

Of all the steps in the repricing process, I think this may be the easiest, with the exclusion of maybe some precision lining the iron up and getting the ferrule in the right place. The process I used for getting the ferrule prepped is much easier with the shaft tip directly in the air (but it was hard to get that in frame) and I think letting the gun run for a bit allows a more consistent heat, as getting the ferrules onto the remaining iron shafts ran much smoother than what I provided in the video.

Setting time is important and leaving the clubs in playing position so they don't gap from the hosel base and shaft tip. I checked my epoxy this morning on the piece of cardboard and it is hardening but not yet dry. It's a great way to measure when the clubs can be moved/completed.

After completing all the head/shaft work, I went back and plugged in the shaft extensions with a bit of epoxy and it was extremely easy. Now all that is left is to get the extensions cut to my preferred playing length and getting the grips on! Feel free to ask questions about the process!

[video=youtube;Xlfh6--drbM]http://www.youtube.com/watch?v=Xlfh6--drbM[/video]
 
Last edited:
Cleaning Out the Hosel

An important step during the reshafting process is getting the hosels cleared of any old epoxy. Rather than talk about it, I figured i'd make a video step to show you guys what I did..

[video=youtube;ukL-jgf_AuY]http://www.youtube.com/watch?v=ukL-jgf_AuY[/video]

This process can also be completed by a wire brush (GolfWorks sells them) I just didn't feel like waiting for one to be delivered.

Your awesome man. I wanna say with all these tips from you I'm not gonna have any trouble servicing my own clubs. 1 million thank you's brotha
 
  • Thread starter
  • Moderator
  • #4
Your awesome man. I wanna say with all these tips from you I'm not gonna have any trouble servicing my own clubs. 1 million thank you's brotha

Thanks for tuning in Manuel! I just finished the epoxy of my first iron. I am going to do three tonight, and if they are looking good and strong tomorrow, I'll do the last four in the same process with a video.

I will say to keep in mind that I am no pro-builder.. This is my first experience and I am sure I'll hit a few snags along the way. Just wanted to share in my experience with everyone.
 
Very cool. I'll be following along.
 
  • Thread starter
  • Moderator
  • #6
***(This has been added to post 2)***

Epoxying the Shafts

This step is the one I feared the most! It just seems so final, but really, you've got TONS of time to get it right, so be patient!

First, mix your epoxy solution onto a spare piece of cardboard and stir it with anything narrow enough to get inside the hosel.

Next, the ferrule. This is kind of tricky and I tried a couple options first before finding a preferred method. The first option is to heat up a bowl of water in the microwave and let the ferrule sit in it for a while to soften. This works okay, but it really doesn't get the job done, as the ones I purchased were quite tight on the shaft. I opted to heat the ferrule at the lowest setting of my heat gun and rapidly moved it around to avoid any melting. At the right heat, the ferrule should easily slide into place.

The next 'learn as I went' experienced was to put the clubhead on while the ferrule was still heated in order to get the right distance. The first couple I had it separated and had to bring it back down which was a pain.

At this point it's ready for the epoxy. Using the stirring tool (I used four toothpicks taped together) basically fill up the hosel with epoxy. Then add some to the shaft tip and insert it into the hosel. This process will allow everything to be epoxy'ed, and the excess ends up heading up into the shaft. Also learning the hard way, the third one I completed (these were previous pulls) was already plugged by hard epoxy and I had to drill it out. Fair warning, if that epoxy has nowhere to go, you won't be able to get the shaft in there!!

Anywho, here are the three I've completed. Everything I've read said that acetone after it cures is a great way to get rid of the excess epoxy around the head and ferrule.

20130211_011631.jpg
 
Great write up Canadan. I am considering doing this to a set of irons I have but am concerned about screwing up the swing weight. Do you have a swing weight scale or is their some other method that you used to figure out the affects of changing to a different weight shaft?
 
Great thread Canadan! My father once observed me with a drill in my hand and commented "you are like a cow with a gun", so I don't think I'll be copying you, but fascinating to watch the process!
 
Great start so far sir! I am hoping to one day build a set for my daughter so I appreciate you doing this and writing down some tips and tricks.

Oh and it's gonna be so much cooler hitting some sticks you know you built yourself. Good luck man and I will keep following along.
 
Great writeups buddy, coming along rather nicely, ill have to check put this workshop coming along here in the near future
 
Thanks Brother! This is all a new area for me. iMac need to give this a go
 
Looks great, nice job!! Digging the color of the ferrules.
 
Nice work, Dan! I am about ready to take on my project, thanks for the tips and notes.
 
  • Thread starter
  • Moderator
  • #14
Thanks for the positive thoughts guys! It's been a fun experience!

Great write up Canadan. I am considering doing this to a set of irons I have but am concerned about screwing up the swing weight. Do you have a swing weight scale or is their some other method that you used to figure out the affects of changing to a different weight shaft?

There are two things I don't know how to control when doing the reshafting, and that's swingweight and spining the iron. To the spining argument, I'm simply lining up to badges that are already on the irons. If it was good enough for the original install, it's good enough for me.

With the shafts I'm putting in being nearly 20-30g heavier than the originals, I don't really have a benchmark on weight, so I am going to simply hit them and if they feel out of whack, possibly mess with some lead tape on a couple.
 
Those ferrules are hideous but those irons are gooooooorgeous!

I'm such a traditional grinch =(
 
Good stuff Dan. I want to reshaft my own irons this summer. Seems like a good project.
 
Looks good Canadan.
 
  • Thread starter
  • Moderator
  • #18
Those ferrules are hideous but those irons are gooooooorgeous!

I'm such a traditional grinch =(

Just wait till I get my paintfill on with those heads!!!!

You'll hit them, and you'll look at me and say, "Dan, man, these clubs flow so wonderfully, I need some ridiculously awesome ferrules now."
 
Looks good buddy. I'm with JRod on the ferrules, sorry buddy, but looks like your well on your way to a successful build. Can't wait to give them a swing.
 
  • Thread starter
  • Moderator
  • #20
**I added this to post 2 as well**

Cutting the Shafts to Length (or Extensions)

An important part of the reshafting process is getting the right length of shaft for your game.. I decided to put a little video together to discuss it, but in short, I found that having a shaft cutter is much easier than utilizing a hacksaw and mitre board for a straight cut. It takes quite a while to fight with the hacksaw, whereas the shaft cutter is quite easy to use and doesn't take much work from the individual.

The only real concern on this process is the tool walking up the shaft rather than going around in a perfect circle. I would encourage practicing on the extensions well outside the determined cut length to get good at joining the rotation on each side to get the groove started. Once that has begun, it's pretty unlikely that the cutter will deviate.

Here's the video:

 
Looks great dude I have been wanting to see this. Very Canadian of you, love it man.
 
  • Thread starter
  • Moderator
  • #22
**Added to post 2**

Completing the ReShaft with Epoxy

Of all the steps in the repricing process, I think this may be the easiest, with the exclusion of maybe some precision lining the iron up and getting the ferrule in the right place. The process I used for getting the ferrule prepped is much easier with the shaft tip directly in the air (but it was hard to get that in frame) and I think letting the gun run for a bit allows a more consistent heat, as getting the ferrules onto the remaining iron shafts ran much smoother than what I provided in the video.

Setting time is important and leaving the clubs in playing position so they don't gap from the hosel base and shaft tip. I checked my epoxy this morning on the piece of cardboard and it is hardening but not yet dry. It's a great way to measure when the clubs can be moved/completed.

After completing all the head/shaft work, I went back and plugged in the shaft extensions with a bit of epoxy and it was extremely easy. Now all that is left is to get the extensions cut to my preferred playing length and getting the grips on! Feel free to ask questions about the process!

[video=youtube;Xlfh6--drbM]http://www.youtube.com/watch?v=Xlfh6--drbM[/video]
 
Looks good
 
  • Thread starter
  • Moderator
  • #24
My final work was completed tonight with the gripping, after cutting down the extensions to the playing length I wanted.. I am shocked with how well I was able to make the blend between the ferrule and grips.. Looks much better than I could have expected.

Anyways, I figured it'd be nice to share some final pics, so here they are.. Hope you guys enjoyed following along!

20130216_233854.jpg


20130216_233926.jpg
 
Nicely done sir! I really like the matching grips and ferrule.
 
Back
Top