


- Staff
- #1
I'm making this thread to help some people, much like I've been helped by other THP'rs. This method has worked very well for me a couple times so far. I've had an issue with a head coming loose, but I learned that it was due to improperly mixing epoxy. I will say a few things up front.
1 - I'm not a club builder.
2 - I may not be doing everything by the book.
3 - I am cheap
4 - I use pulls, which adds and subtracts some steps compared to using raw/new shafts.
Materials:
Heat Gun from Lowes
Pro Fix 5/10 Epoxy
Shafts
Ferrules
Power Drill
Leather gloves or a towel
How to do it:
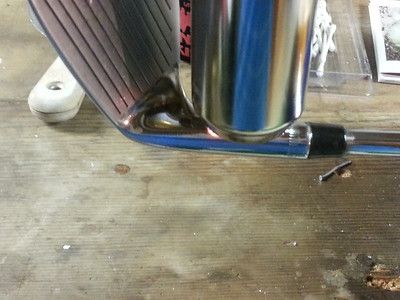
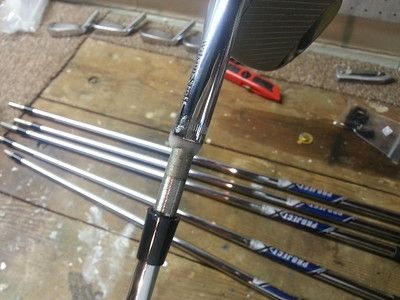
1) The first thing I do is remove the iron heads from the old shafts. This is pretty simple with the heat gun. It takes a little while until the heat gun gets warmed up. All I do is put the club in my vise and hold the heat gun at high heat against the hosel for a minute or so on the top and bottom. After a couple minutes, either use a towel or wear leather gloves and twist the head off. You can usually knock off a little excess epoxy now as well.


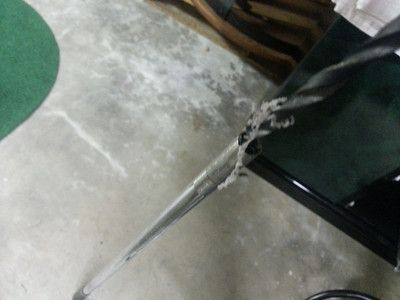
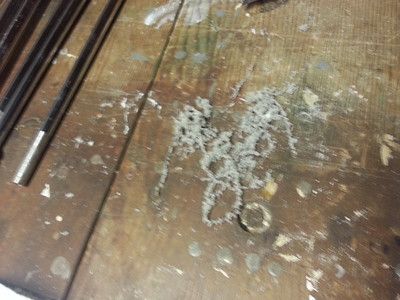
2) At this point, the first few heads you removed should be cooled down enough for you to removed the old epoxy. I use a power drill with a larger bit for this. Sorry, not sure what size or what type of bit. Just a bigger one that fits down into the hosel. Use it to clean against the inner walls of the hosel and down at the base. Some of the dried epoxy will come up with the drill and you can tap out the excess on your work bench.


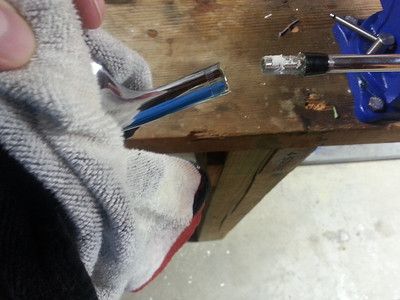
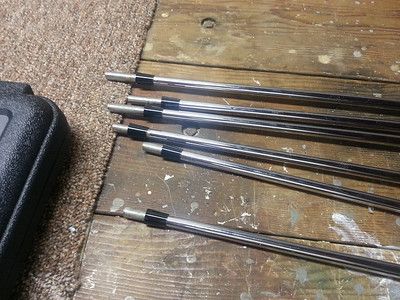
3) Next, I prep the pulls by scraping off excess/dried epoxy on the tip. It's easiest for me just to use a utility knife for this. Watch your fingers! Since these are pulls, they've already been roughed up and prepped. No need to worry about this. However, you do need to get rid of any dried epoxy that has gone up the tip and into the shaft. I use the same power drill for this. It's pretty cool to watch, because big ribbons of old epoxy come flying out of the tip. I've skipped this step in the past and it makes it very difficult to get the shaft to go down into the head. Lastly, you can put the new ferrules onto the shafts. Don't forget this. It happens!
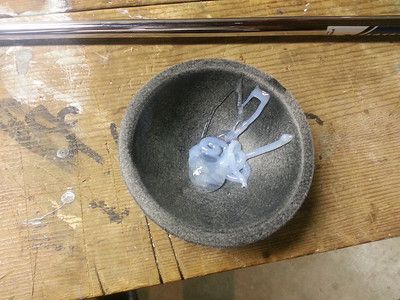
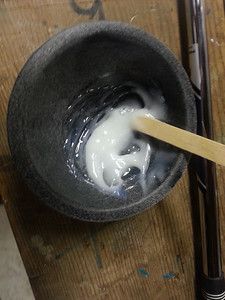
3) Now comes the messy part. The 5/10 epoxy comes in a dual tube syringe, so you actually activate the epoxy when mixing the contents of both tubes together. The most important thing here is to mix it up really well. I use a popsicle stick. You want this epoxy to be a pearly white color.
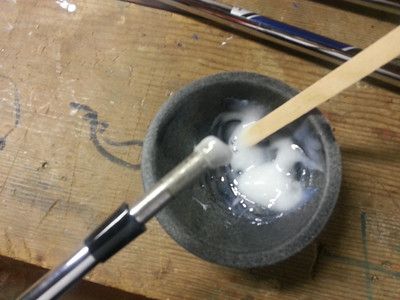
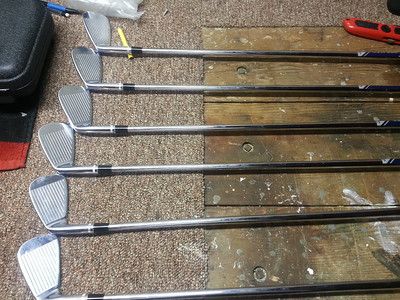
4)From here, I dip the tip of the shafts in to epoxy and try to get a good amount up into the tip. Then, just push it down into the shaft. While the epoxy is still loose, the shaft will move around quite a bit, but as it sets you will find the shaft basically staying put once you insert it. If you have to, hold it tight for a few minutes. Now wipe off most of the excess epoxy, but not all of it, and slide the ferrule into place. Make sure your shaft logo is where you want it and set aside to set. This epoxy has a full bond in about 20 minutes. That's all there is to it. Technically you can use the clubs (with this epoxy) within an hour, but I usually wait a day to be safe.
1 - I'm not a club builder.
2 - I may not be doing everything by the book.
3 - I am cheap
4 - I use pulls, which adds and subtracts some steps compared to using raw/new shafts.
Materials:
Heat Gun from Lowes
Pro Fix 5/10 Epoxy
Shafts
Ferrules
Power Drill
Leather gloves or a towel
How to do it:
1) The first thing I do is remove the iron heads from the old shafts. This is pretty simple with the heat gun. It takes a little while until the heat gun gets warmed up. All I do is put the club in my vise and hold the heat gun at high heat against the hosel for a minute or so on the top and bottom. After a couple minutes, either use a towel or wear leather gloves and twist the head off. You can usually knock off a little excess epoxy now as well.
2) At this point, the first few heads you removed should be cooled down enough for you to removed the old epoxy. I use a power drill with a larger bit for this. Sorry, not sure what size or what type of bit. Just a bigger one that fits down into the hosel. Use it to clean against the inner walls of the hosel and down at the base. Some of the dried epoxy will come up with the drill and you can tap out the excess on your work bench.
3) Next, I prep the pulls by scraping off excess/dried epoxy on the tip. It's easiest for me just to use a utility knife for this. Watch your fingers! Since these are pulls, they've already been roughed up and prepped. No need to worry about this. However, you do need to get rid of any dried epoxy that has gone up the tip and into the shaft. I use the same power drill for this. It's pretty cool to watch, because big ribbons of old epoxy come flying out of the tip. I've skipped this step in the past and it makes it very difficult to get the shaft to go down into the head. Lastly, you can put the new ferrules onto the shafts. Don't forget this. It happens!
3) Now comes the messy part. The 5/10 epoxy comes in a dual tube syringe, so you actually activate the epoxy when mixing the contents of both tubes together. The most important thing here is to mix it up really well. I use a popsicle stick. You want this epoxy to be a pearly white color.
4)From here, I dip the tip of the shafts in to epoxy and try to get a good amount up into the tip. Then, just push it down into the shaft. While the epoxy is still loose, the shaft will move around quite a bit, but as it sets you will find the shaft basically staying put once you insert it. If you have to, hold it tight for a few minutes. Now wipe off most of the excess epoxy, but not all of it, and slide the ferrule into place. Make sure your shaft logo is where you want it and set aside to set. This epoxy has a full bond in about 20 minutes. That's all there is to it. Technically you can use the clubs (with this epoxy) within an hour, but I usually wait a day to be safe.

